DIY Twine Pumpkins
SHARE THIS POST OR PIN IT FOR LATER!
*This post may contain affiliate links. Thank you for supporting my small business…at no extra cost to yourself!
I'm not a big crafter, but I normally like to do one or two things to be creative each season. Additionally, I try to look for projects that use what I already have onhand or that don't cost very much money. These TWINE pumpkins check all the boxes for me! I look for twine at just about every estate sale that I go to. I'm drawn to it every time because it looks neat to display the rolls, it's useful for lots of projects, and it's fun to craft with. I grabbed this (kind of dirty) roll at a sale a while back and had planned to just use it for outdoor projects. When I decided to make the pumpkins, I knew the weight of it would be perfect to make them!
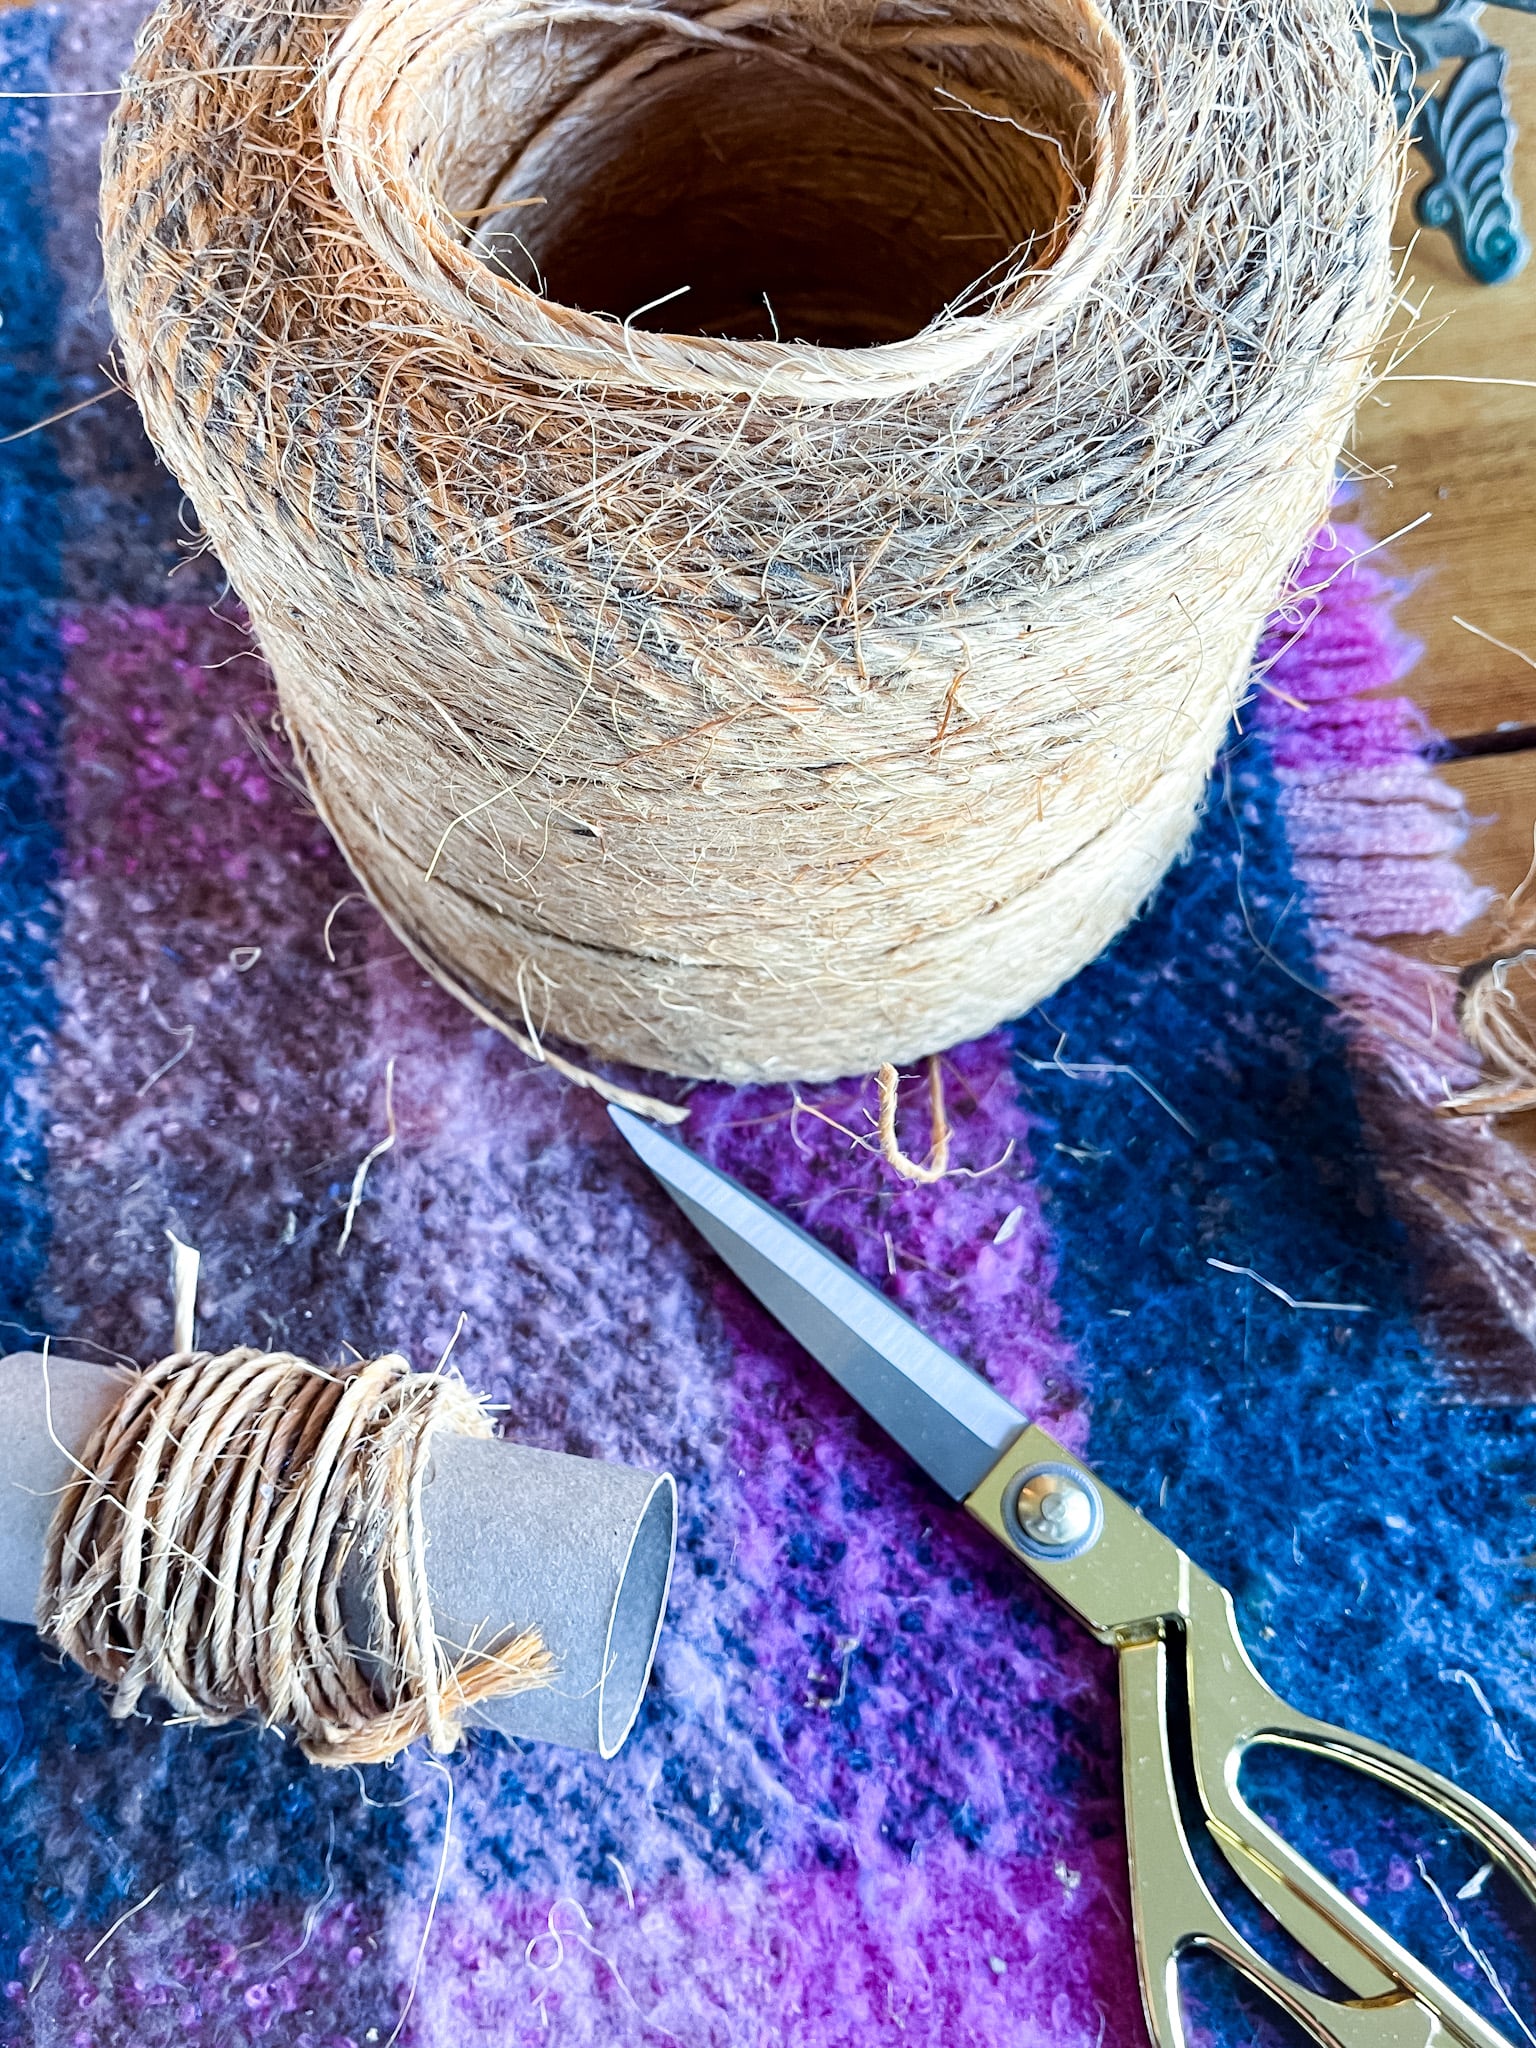
The only other supplies you'll need for this project are SCISSORS and a toilet paper roll...or something to wrap the twine around. The t.p. roll is nice because it's fairly short to then feed the piece of twine through to wrap the other twine up. Clear as mud instructions, right? I did take a few pics of the process as I made the project that should be easy to follow along with!
The first thing you'll need to do is figure out how long a piece of TWINE you need to wrap around the toilet paper roll. It will vary depending on how dense of a pumpkin you want to make. I had to do a little experimenting with the first couple that I made to get the right length. I will tell you that it takes more than you think...so be generous. Once you cut the twine, start at one end of the toilet paper roll and wrap the twine around, sort of tucking the end under where you're wrapping to hold it in place. Then, wrap down the length of the tube, wrapping back over it once you've reached the other end. Do this until all the twine is wrapped around. When you're done, tuck the other loose end into the wrapped pieces.
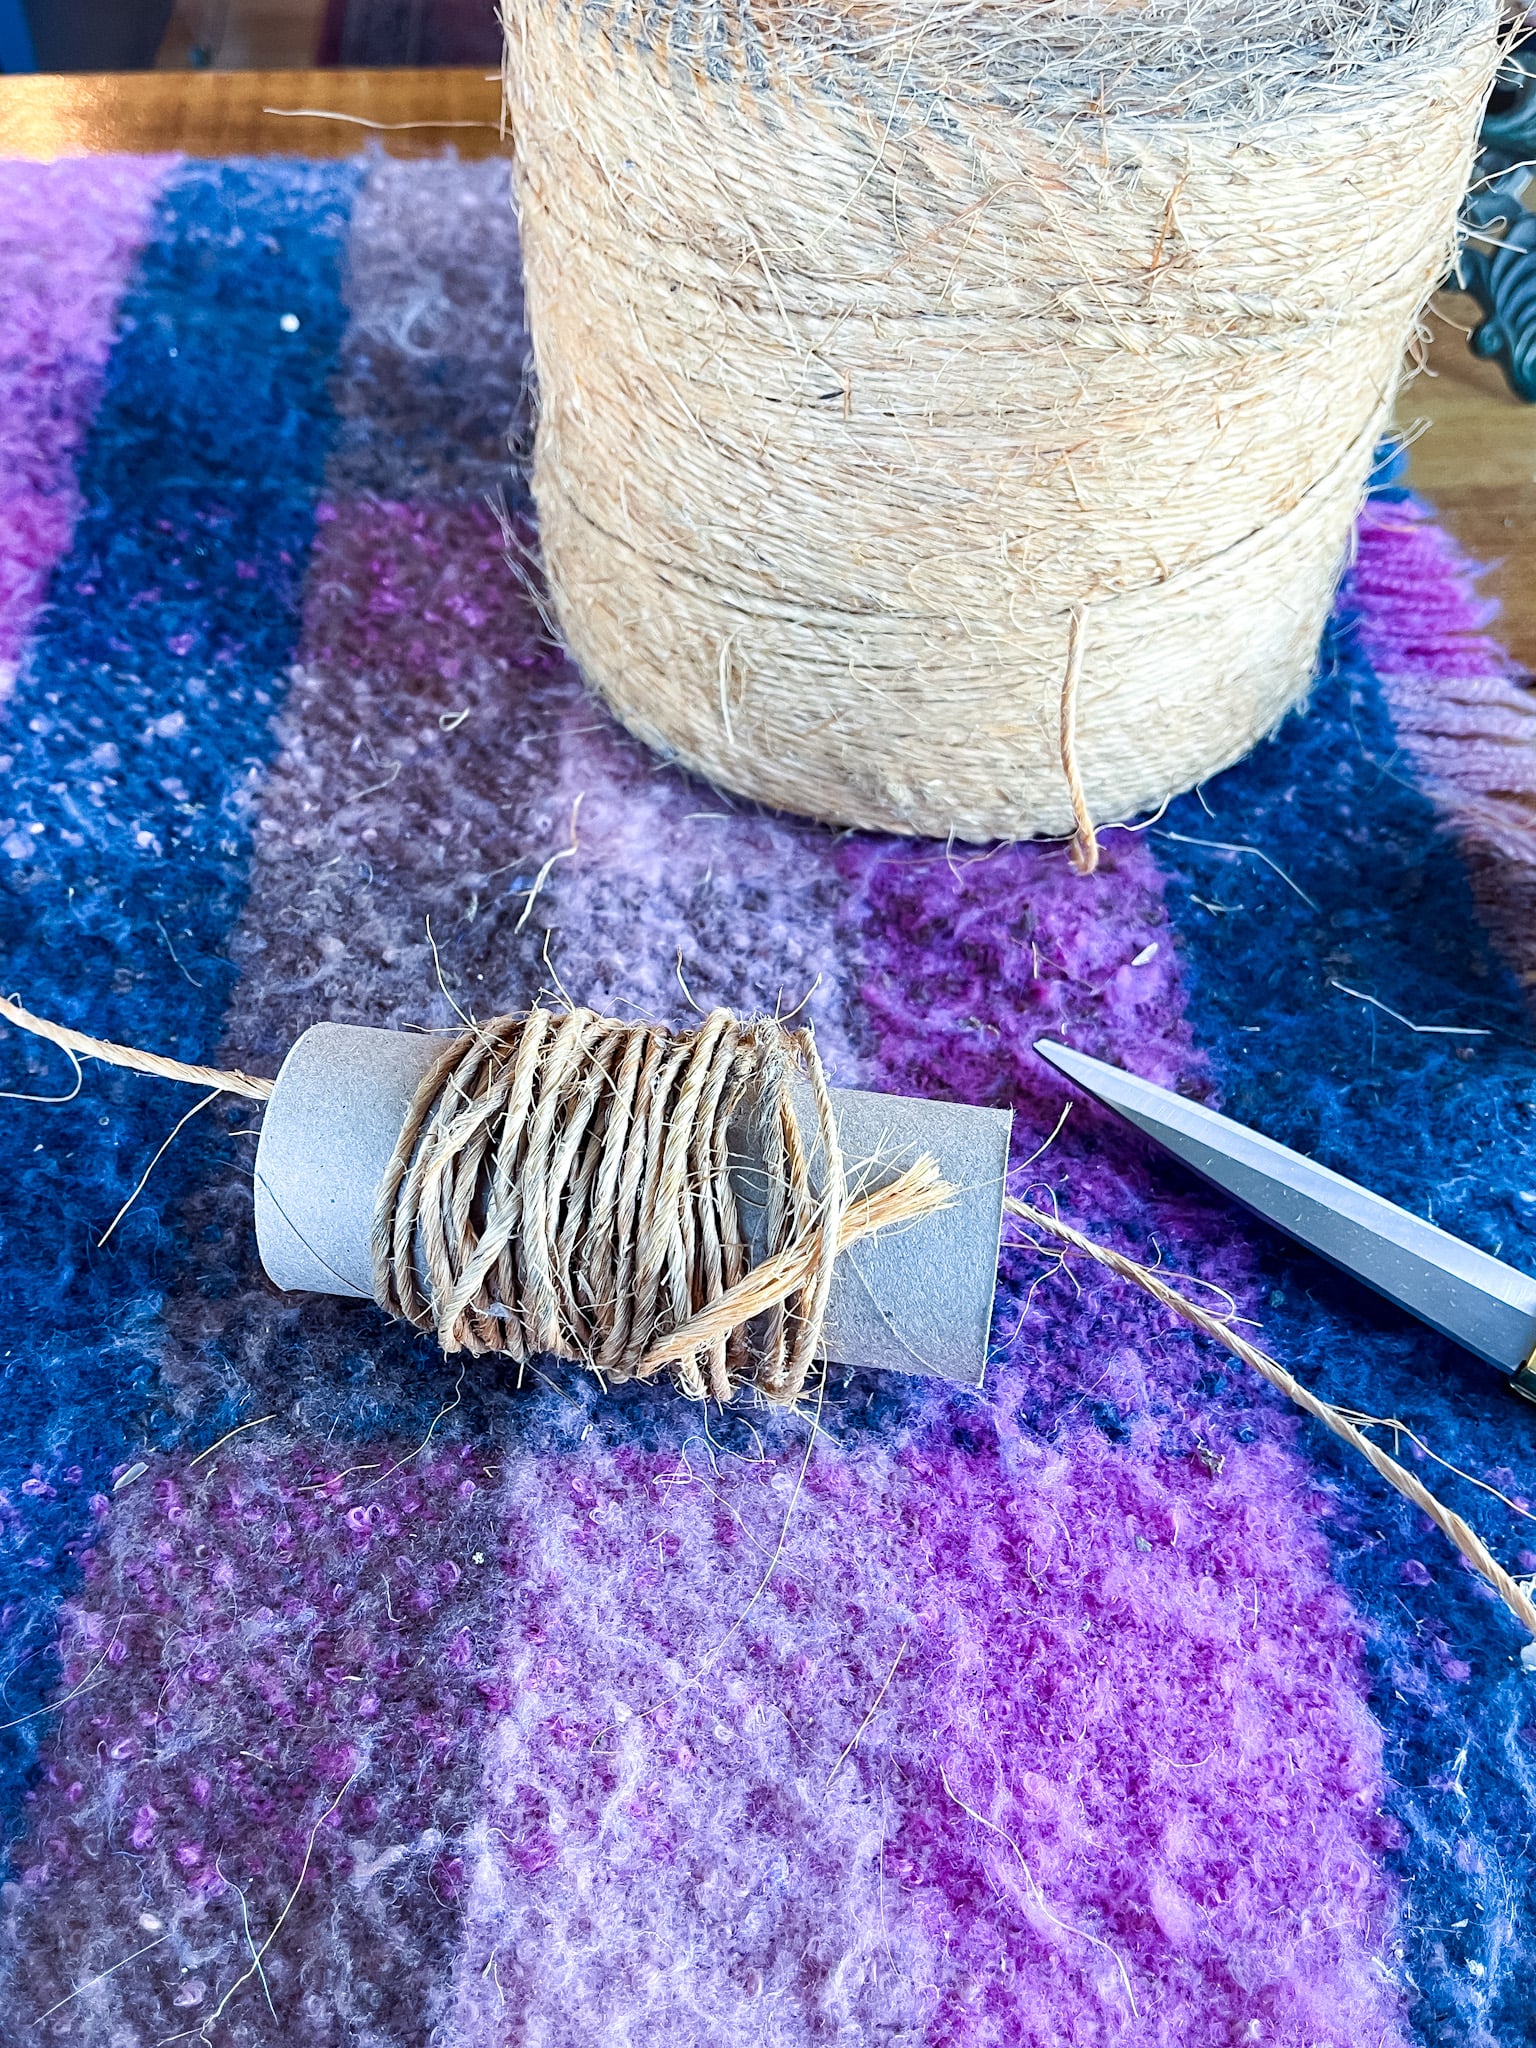
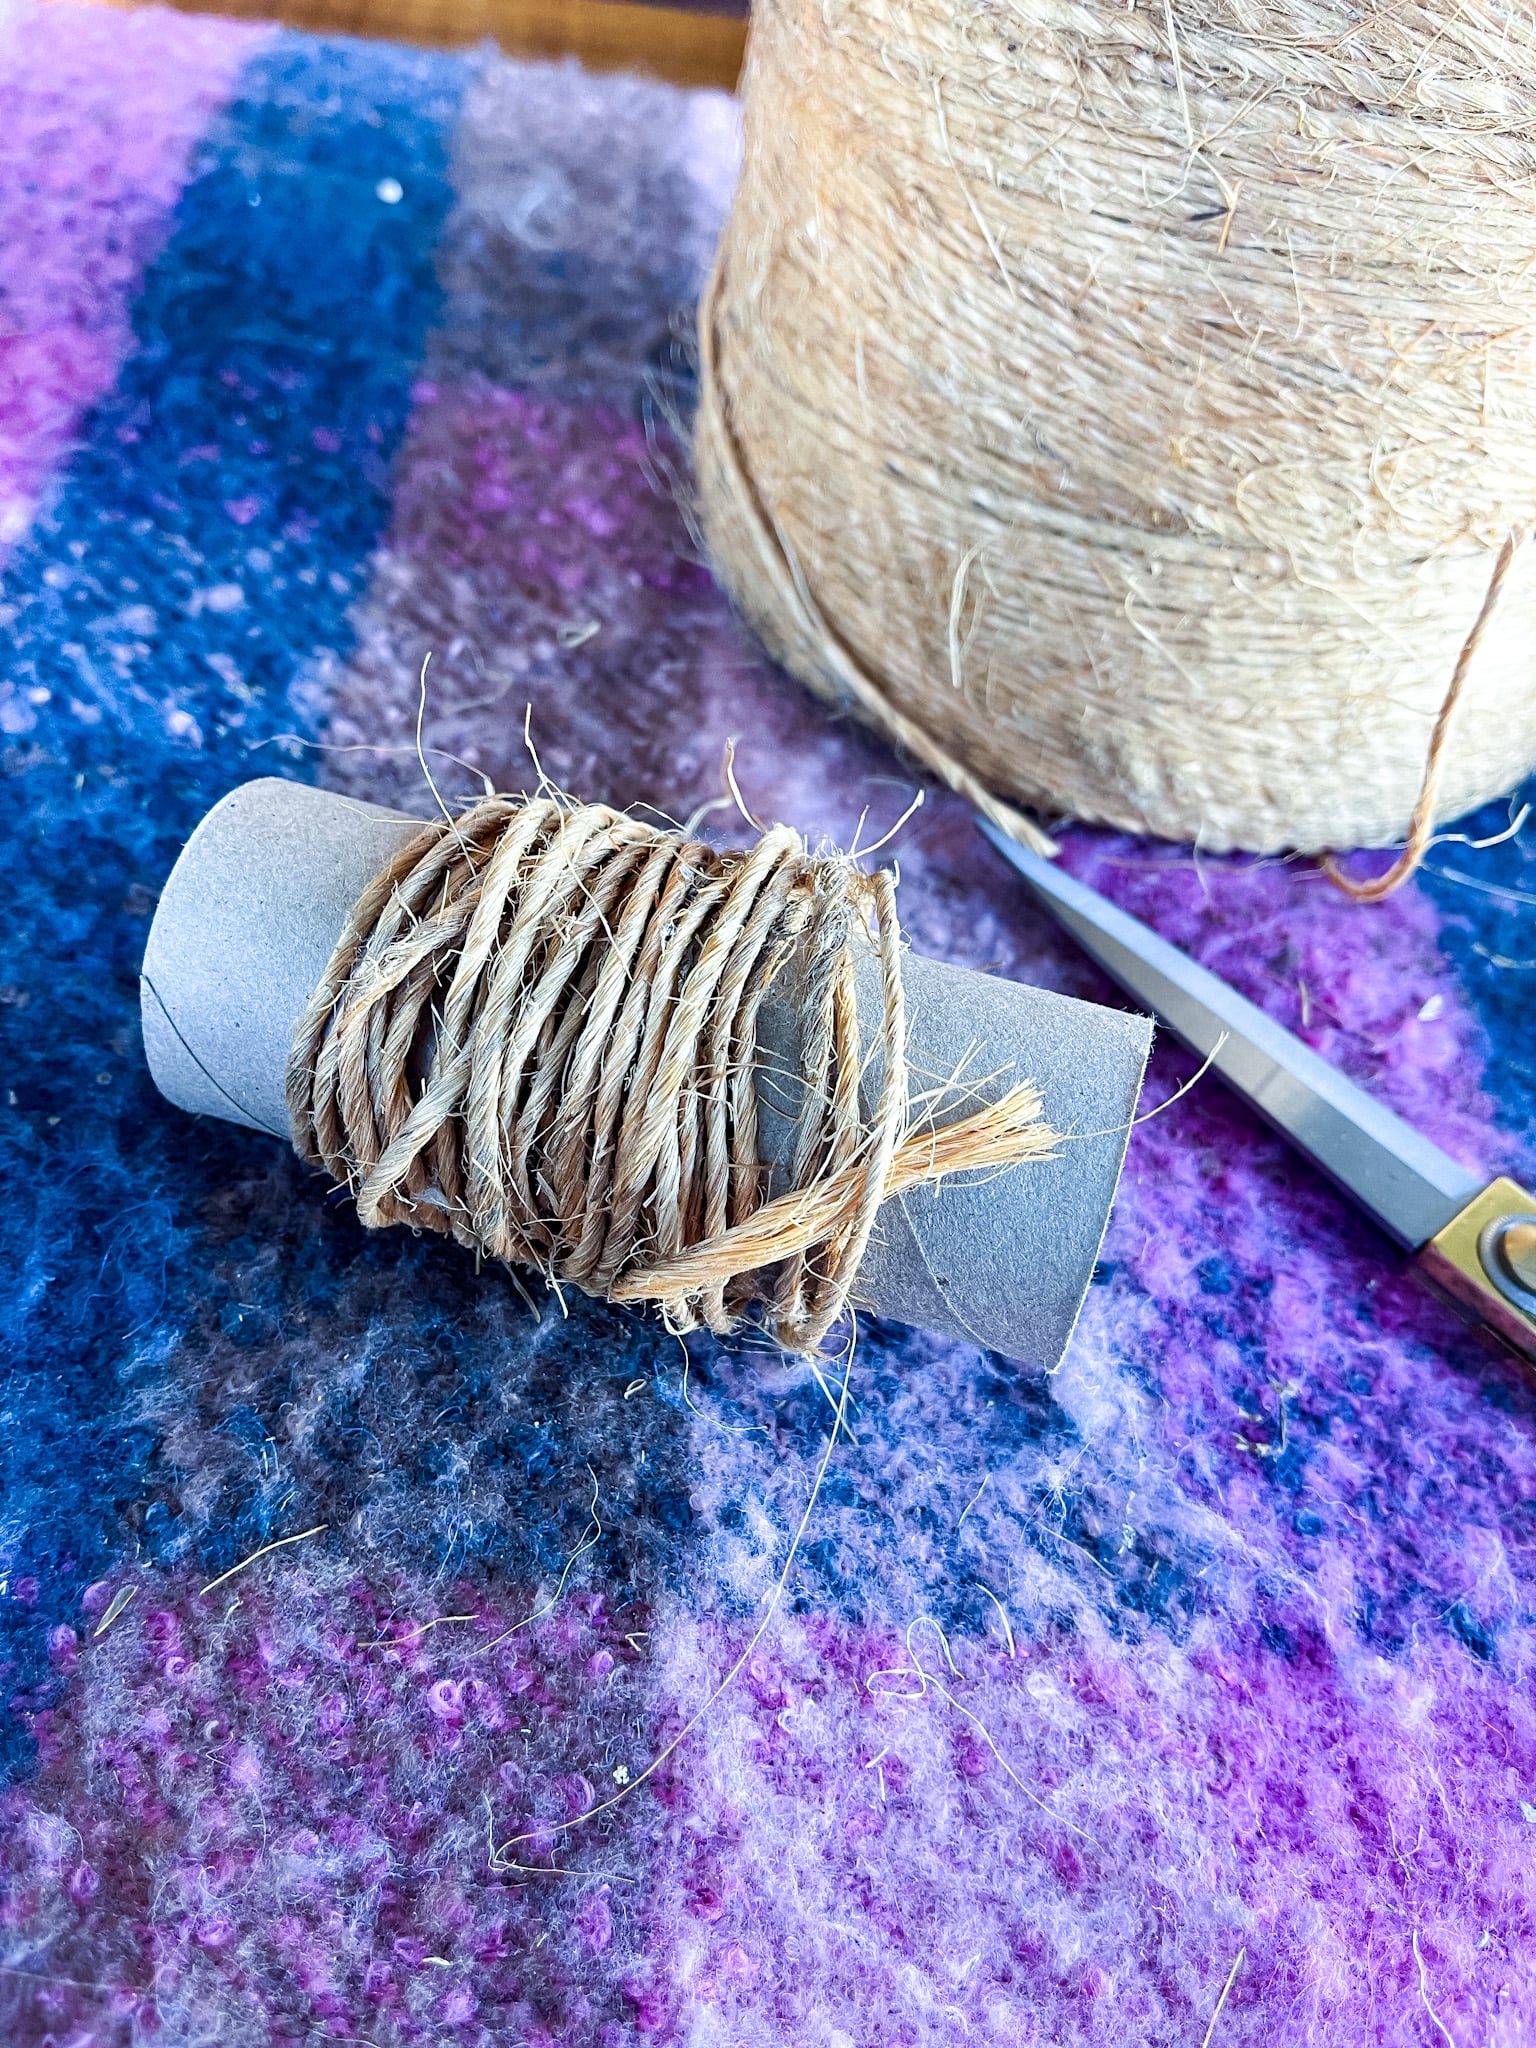
The next step is to cut a piece of twine that is long enough to feed through the tube. You'll use this piece to tie the pumpkin together in the next step.
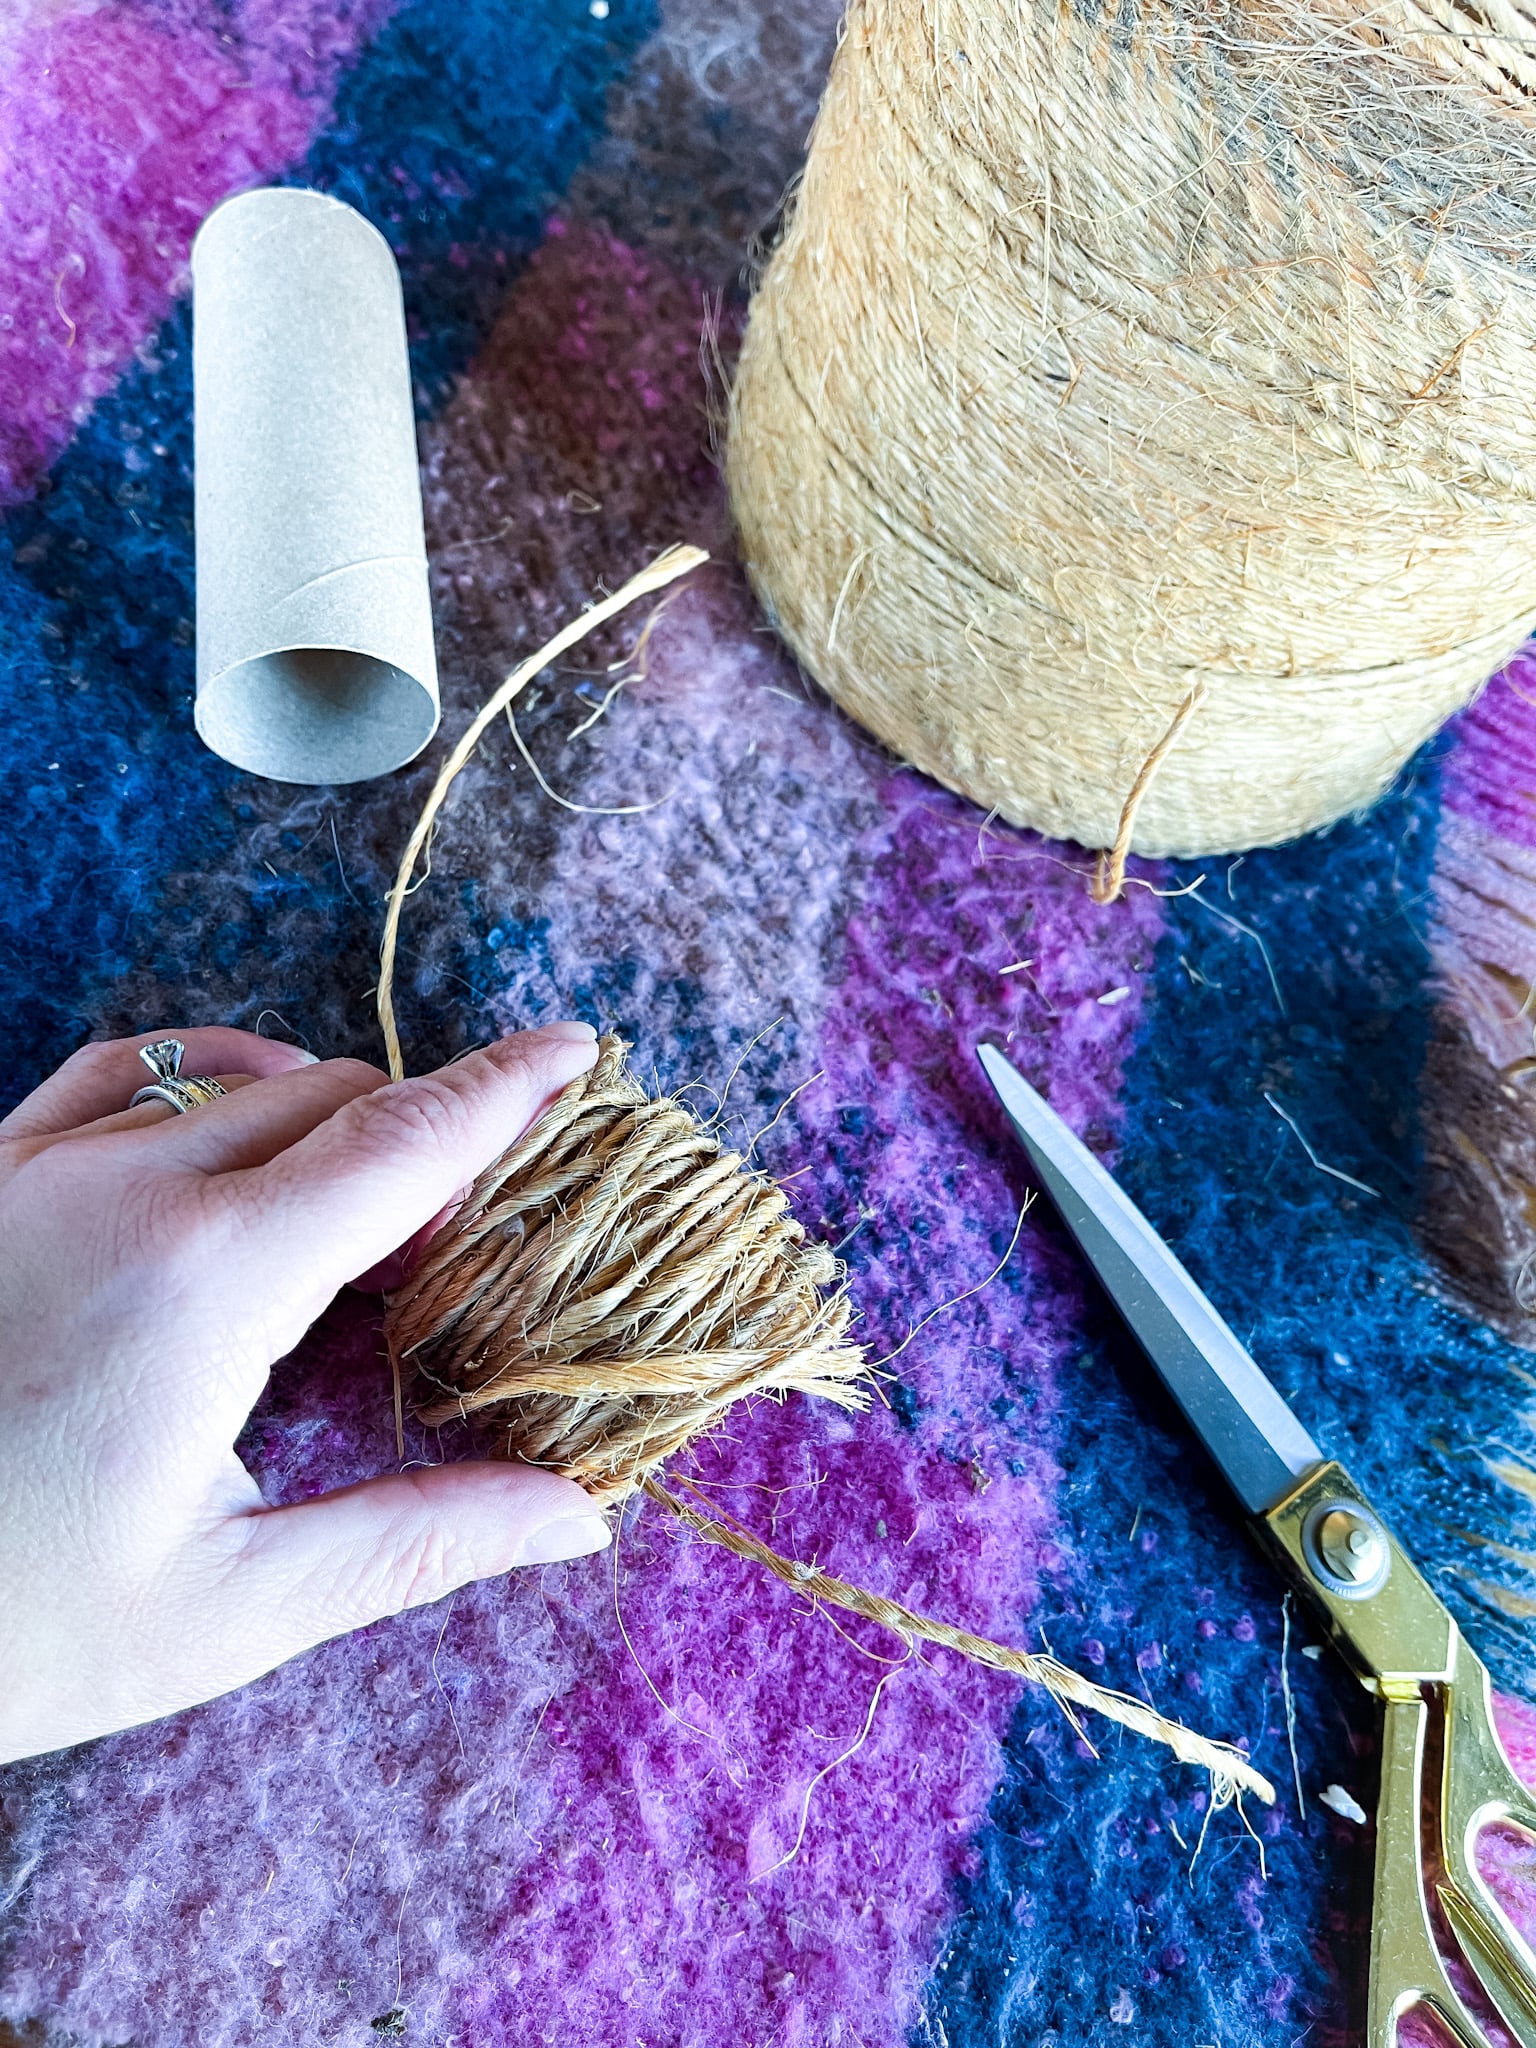
Carefully slide the wrapped twine off the toilet paper tube. I found the best way was to wiggle it back and forth toward one end, kind of holding it together as you go. Don't worry if the end comes out, you can tuck it back in before you tie the pumpkin together.

Once you have the TWINE off the toilet paper roll, you then need to knot the piece of twine that was threaded through the toilet paper roll. Make sure you double it and make it tight so it holds. Snip off the loose ends for a cleaner look.

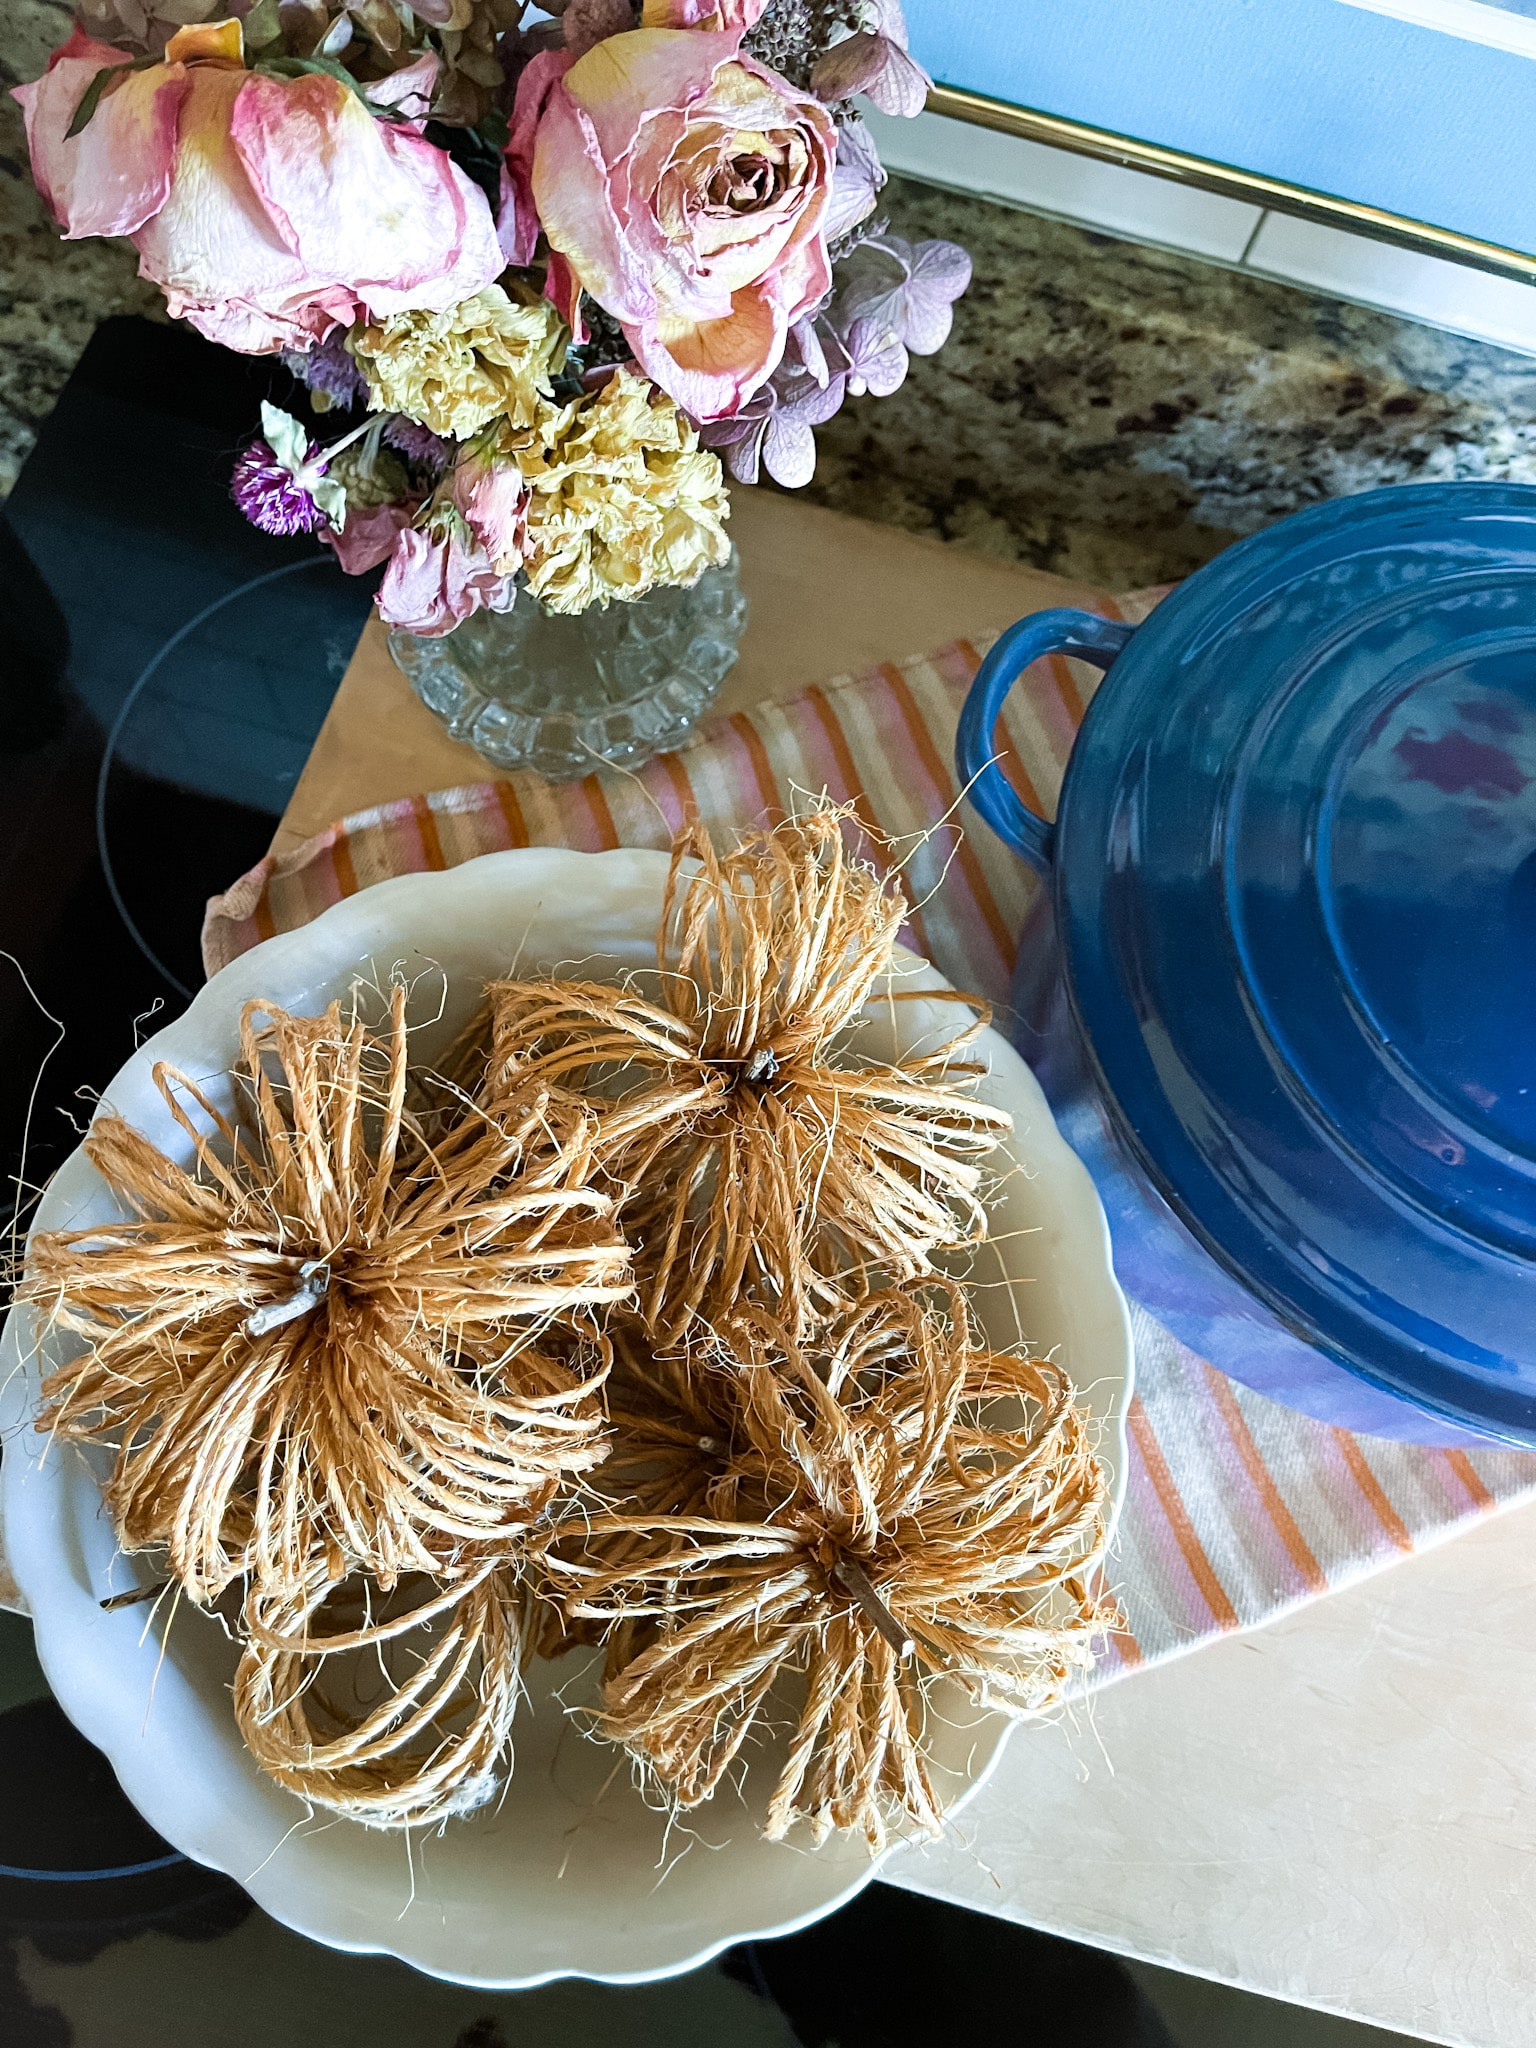
The last step of making the twine pumpkins is to fan out the loops to make the pumpkin shape. You can be as meticulous with this part as you want. I'm not very fussy, so I just did enough to make it look like the pumpkin shape.
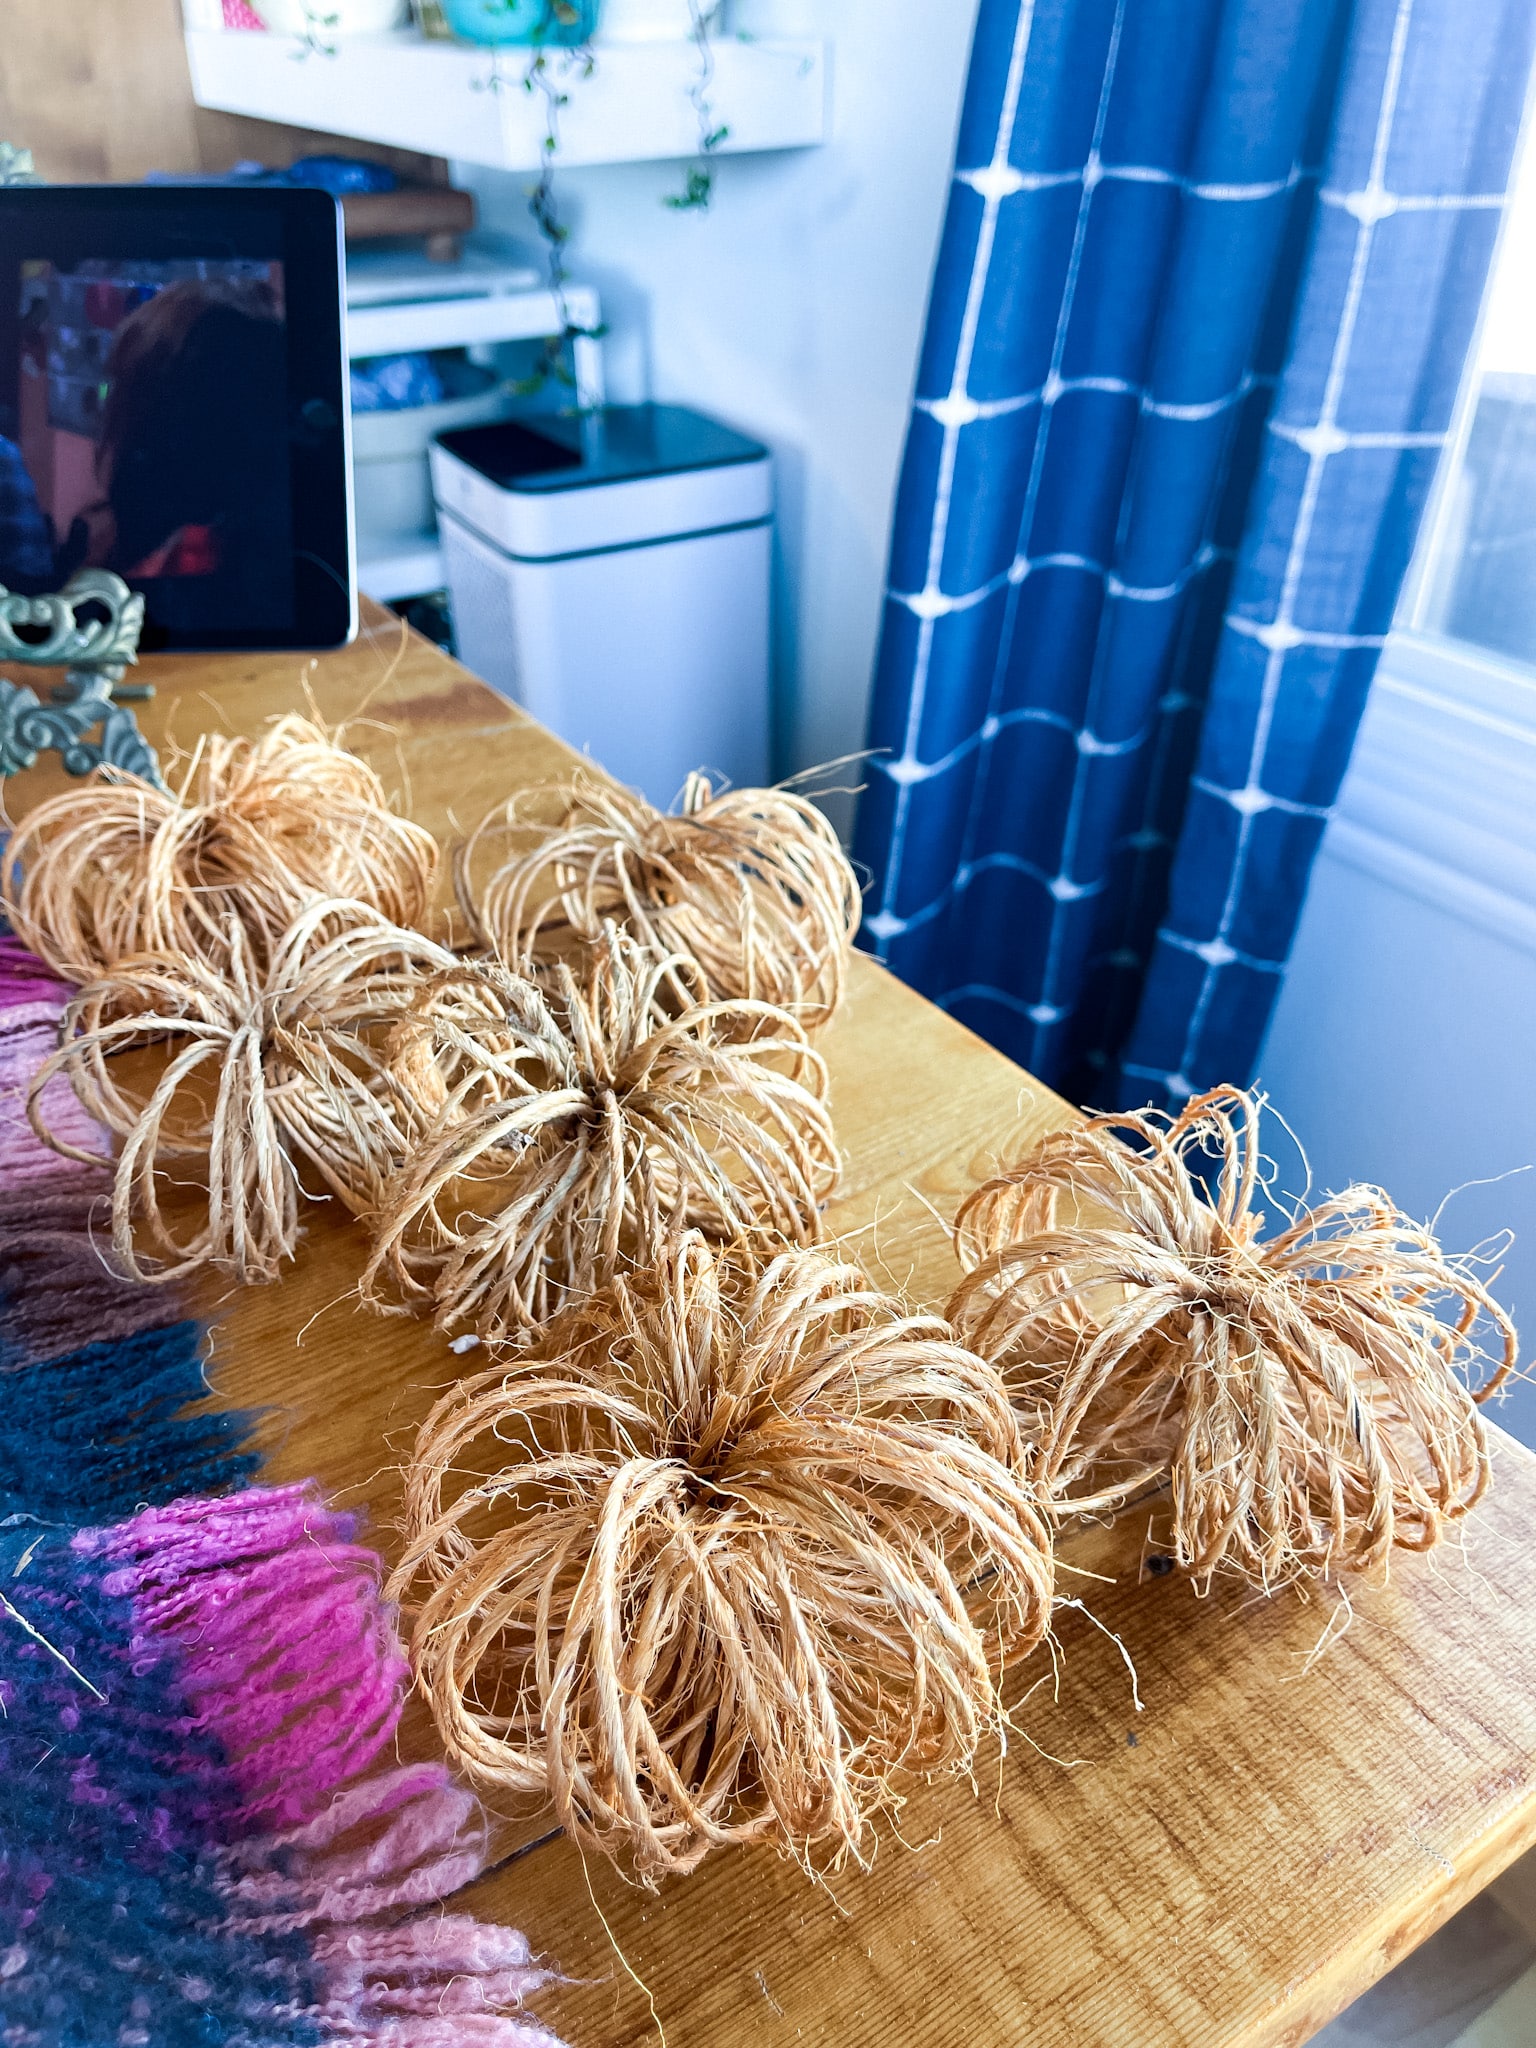
These little cuties took shape so quickly and were so easy to make! I think it would be fun to have one at each spot at a dinner table with name card or to fill big bowls with them. I made this group in just a few minutes, so you could really make a bunch if you wanted to!
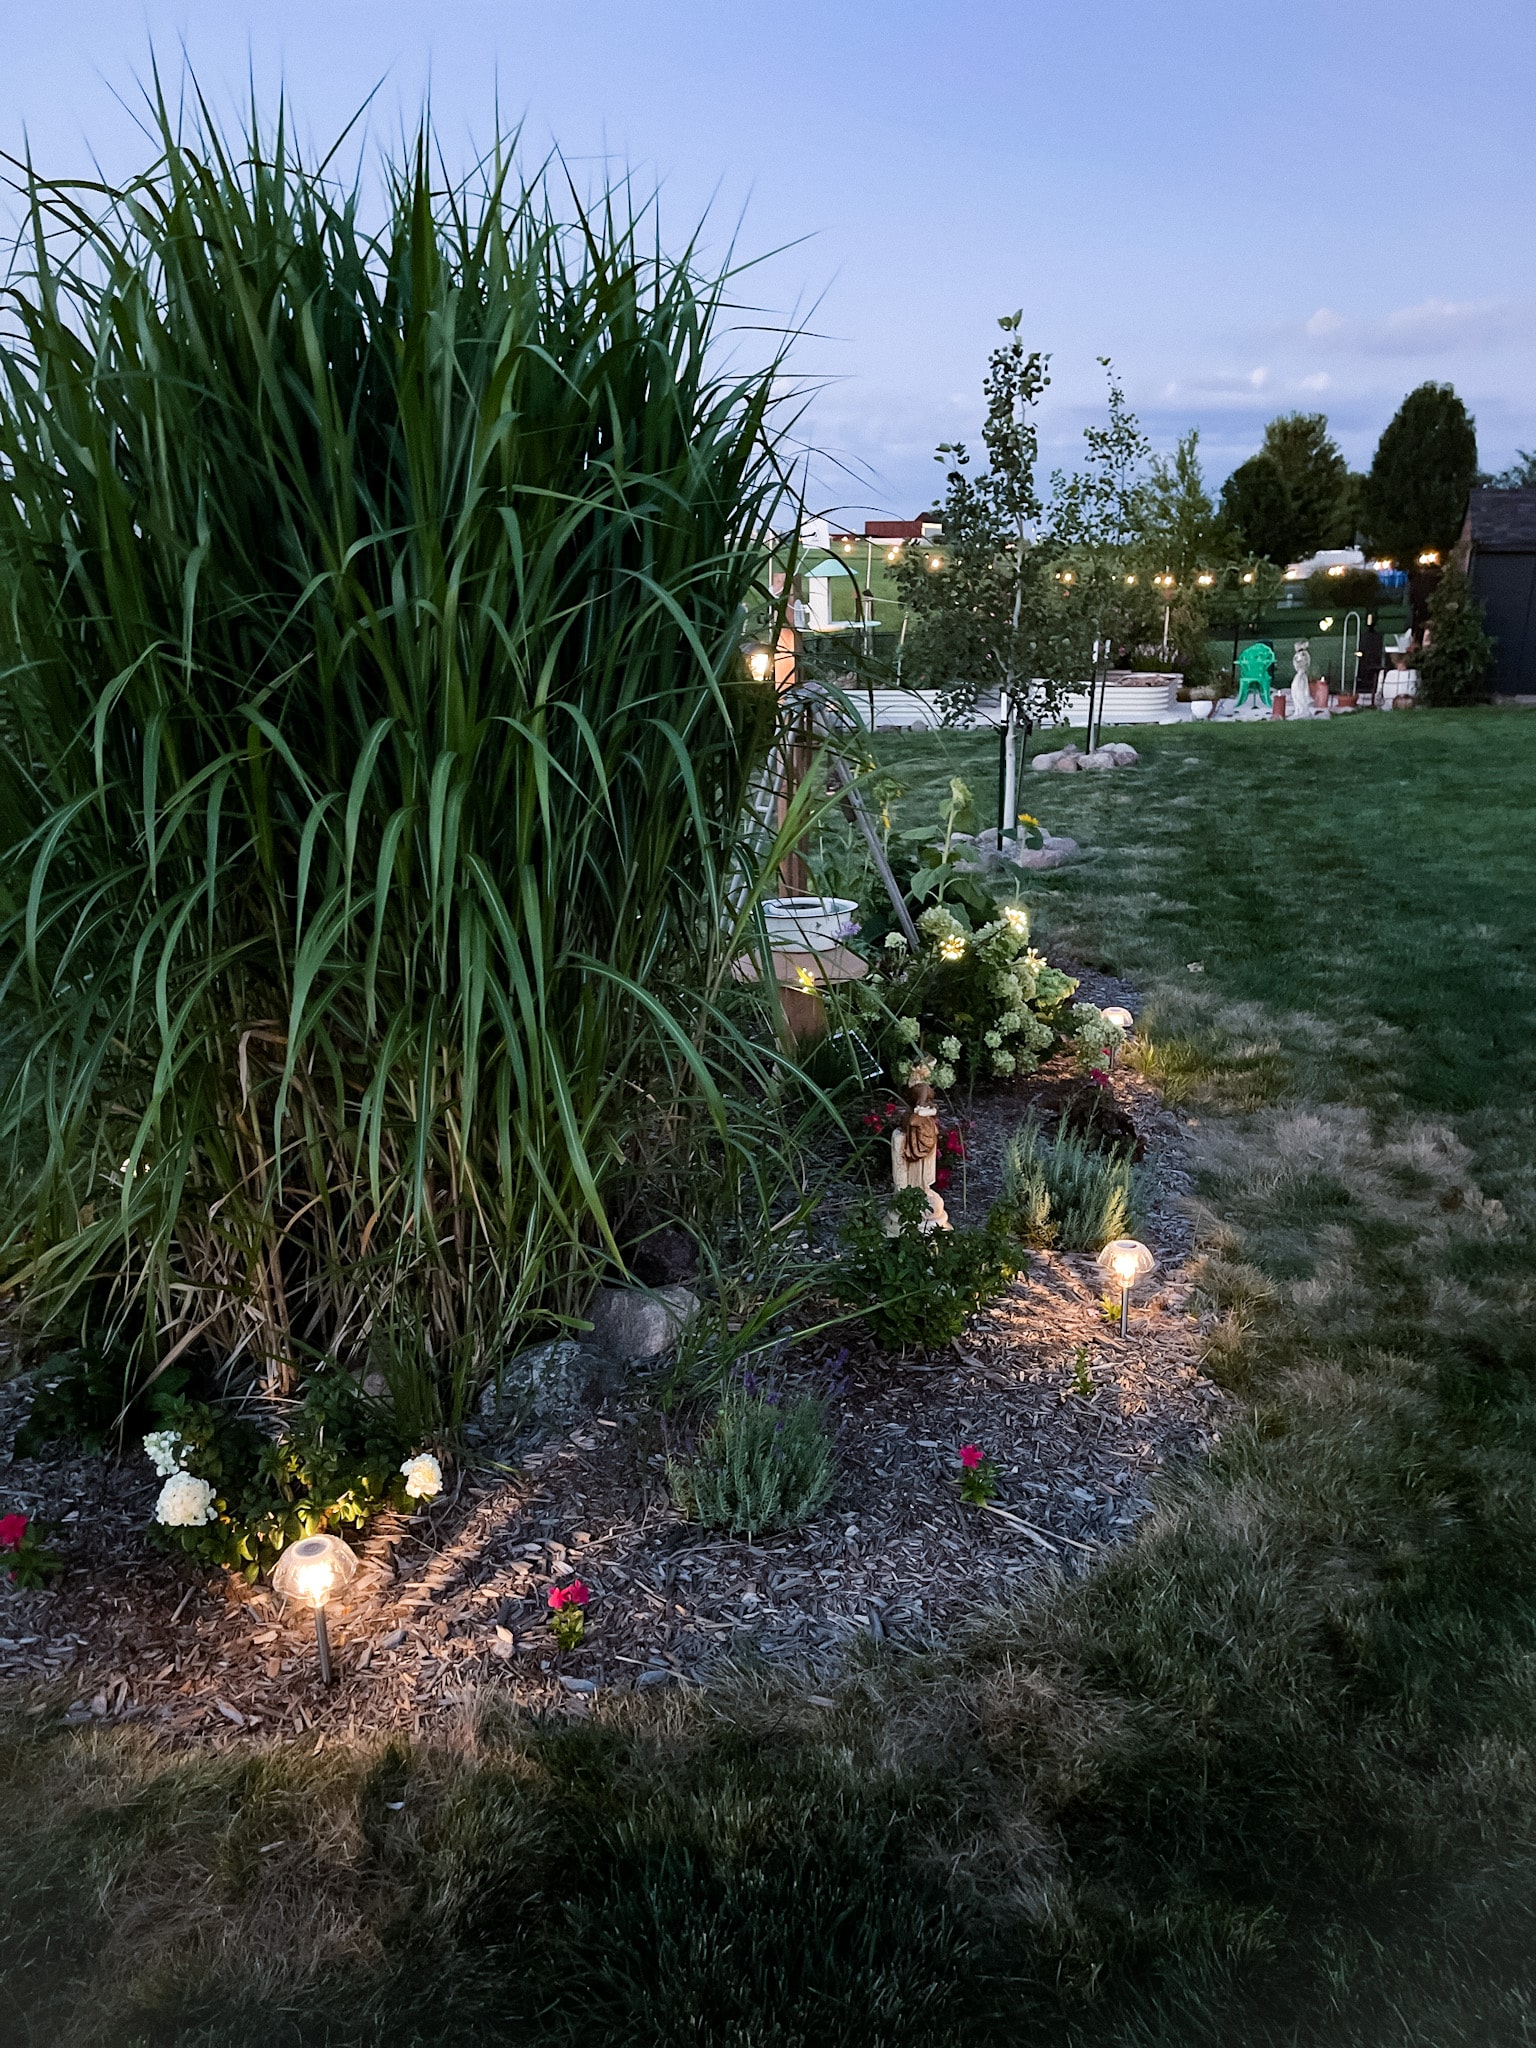
The last step of the TWINE pumpkin project is to add a stem. You could use cinnamon sticks (that would smell so good), but I just went out and snipped some stems from a perennial plant in our landscaping. Then, I stuck it down in the middle of the pumpkins. Easy peasy and so cute!
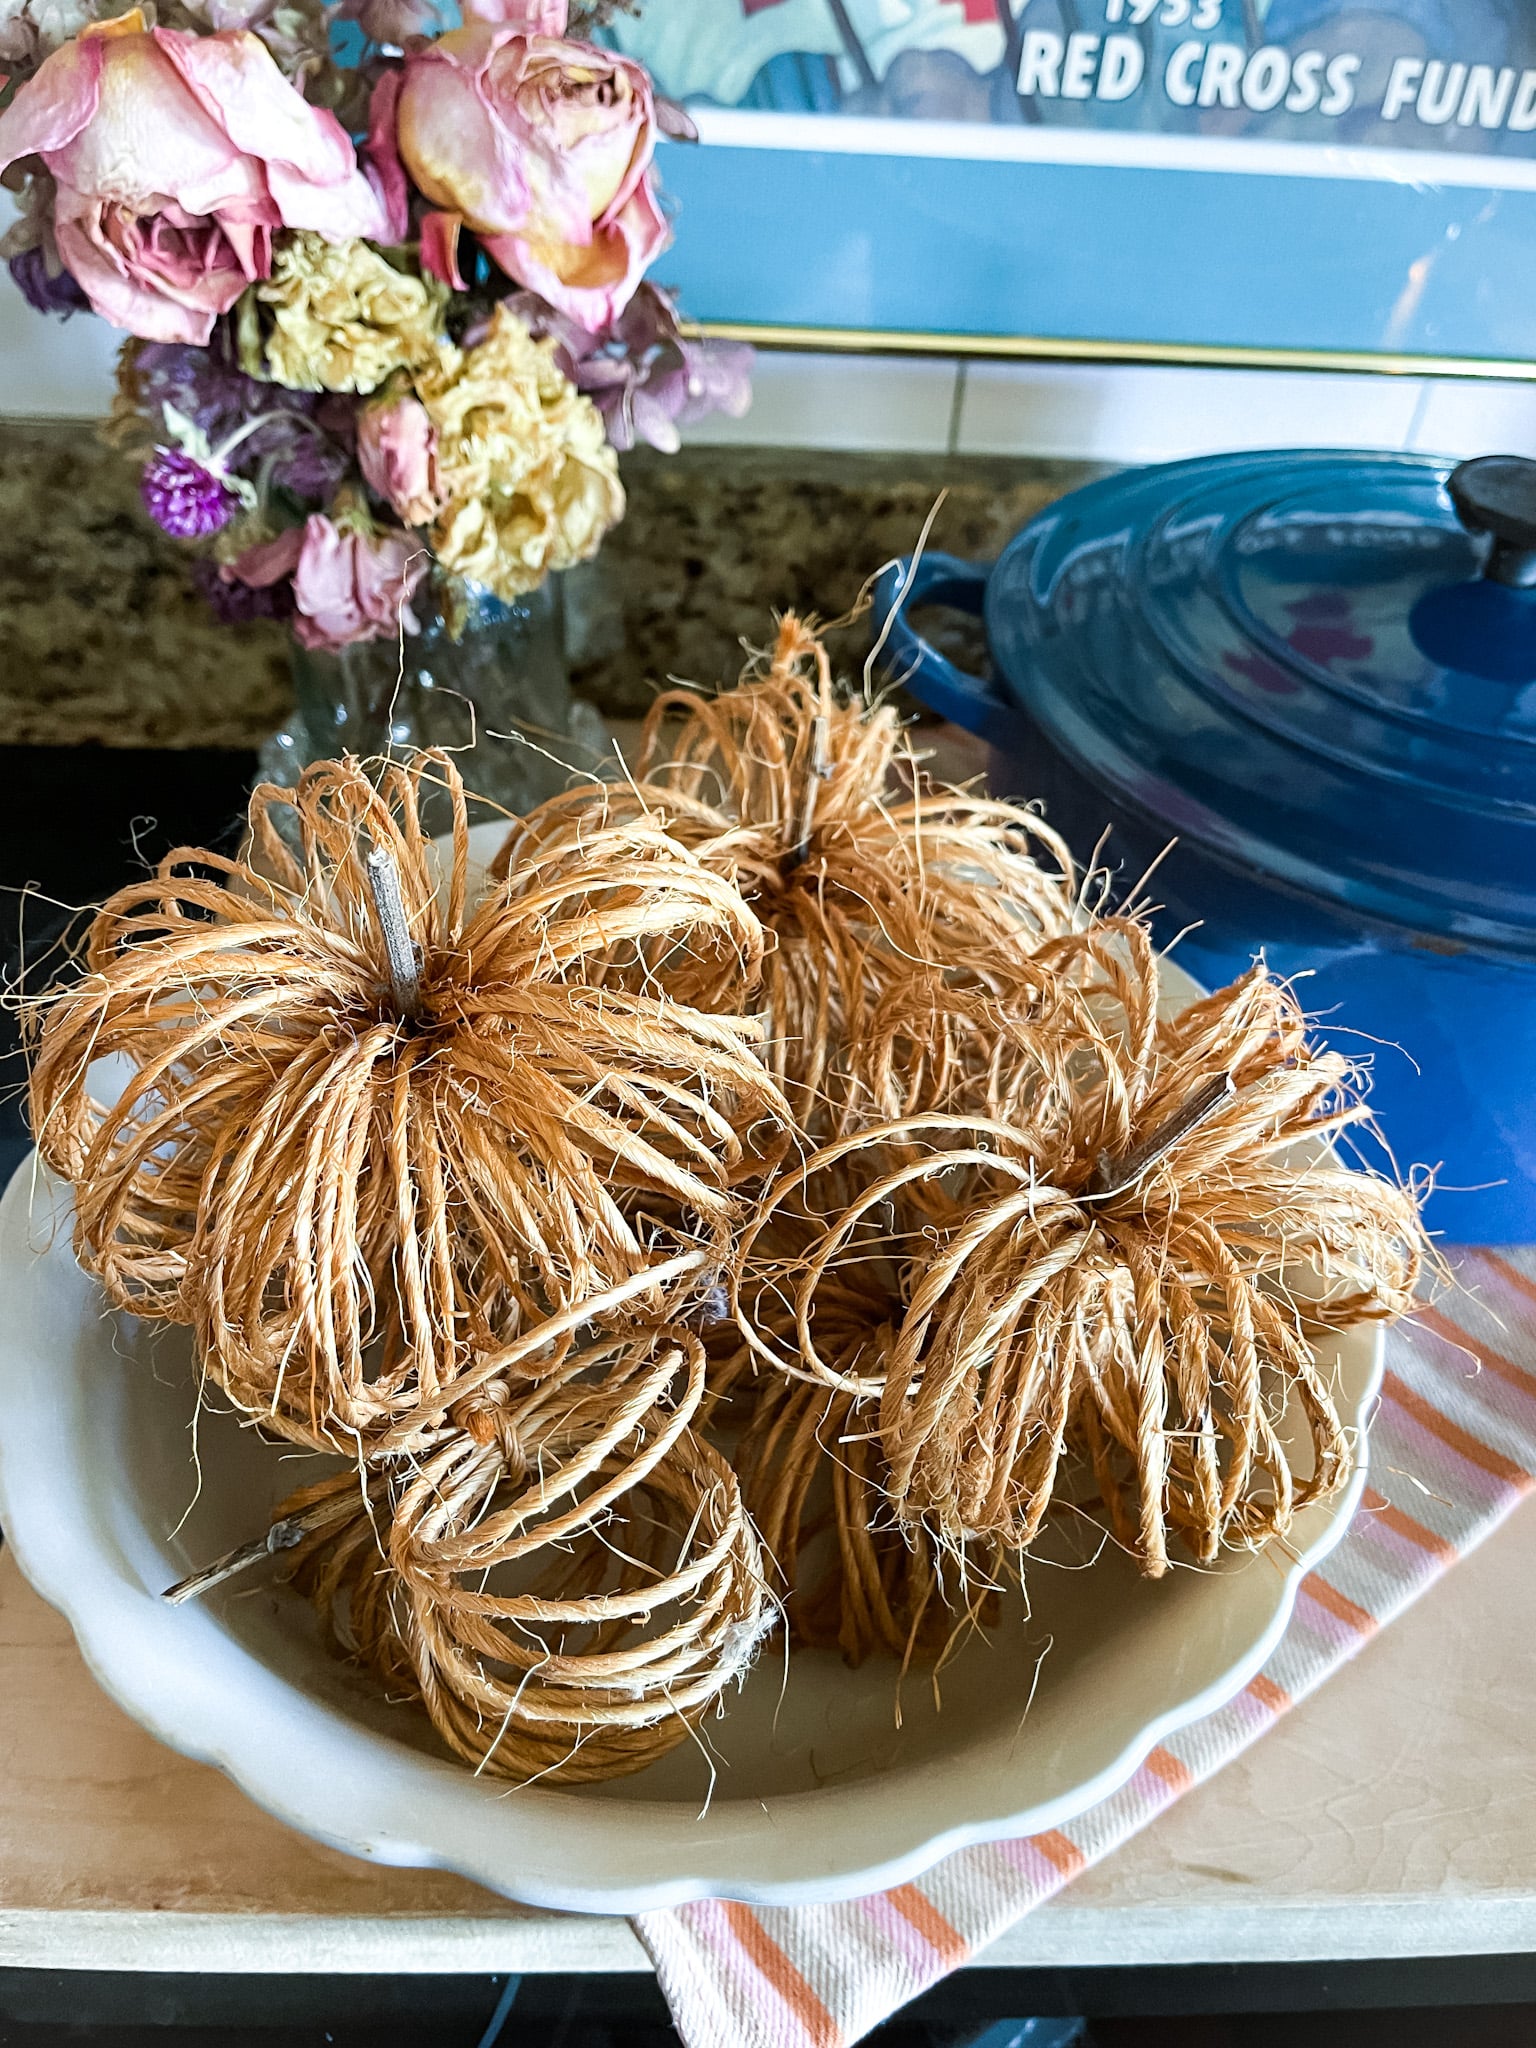
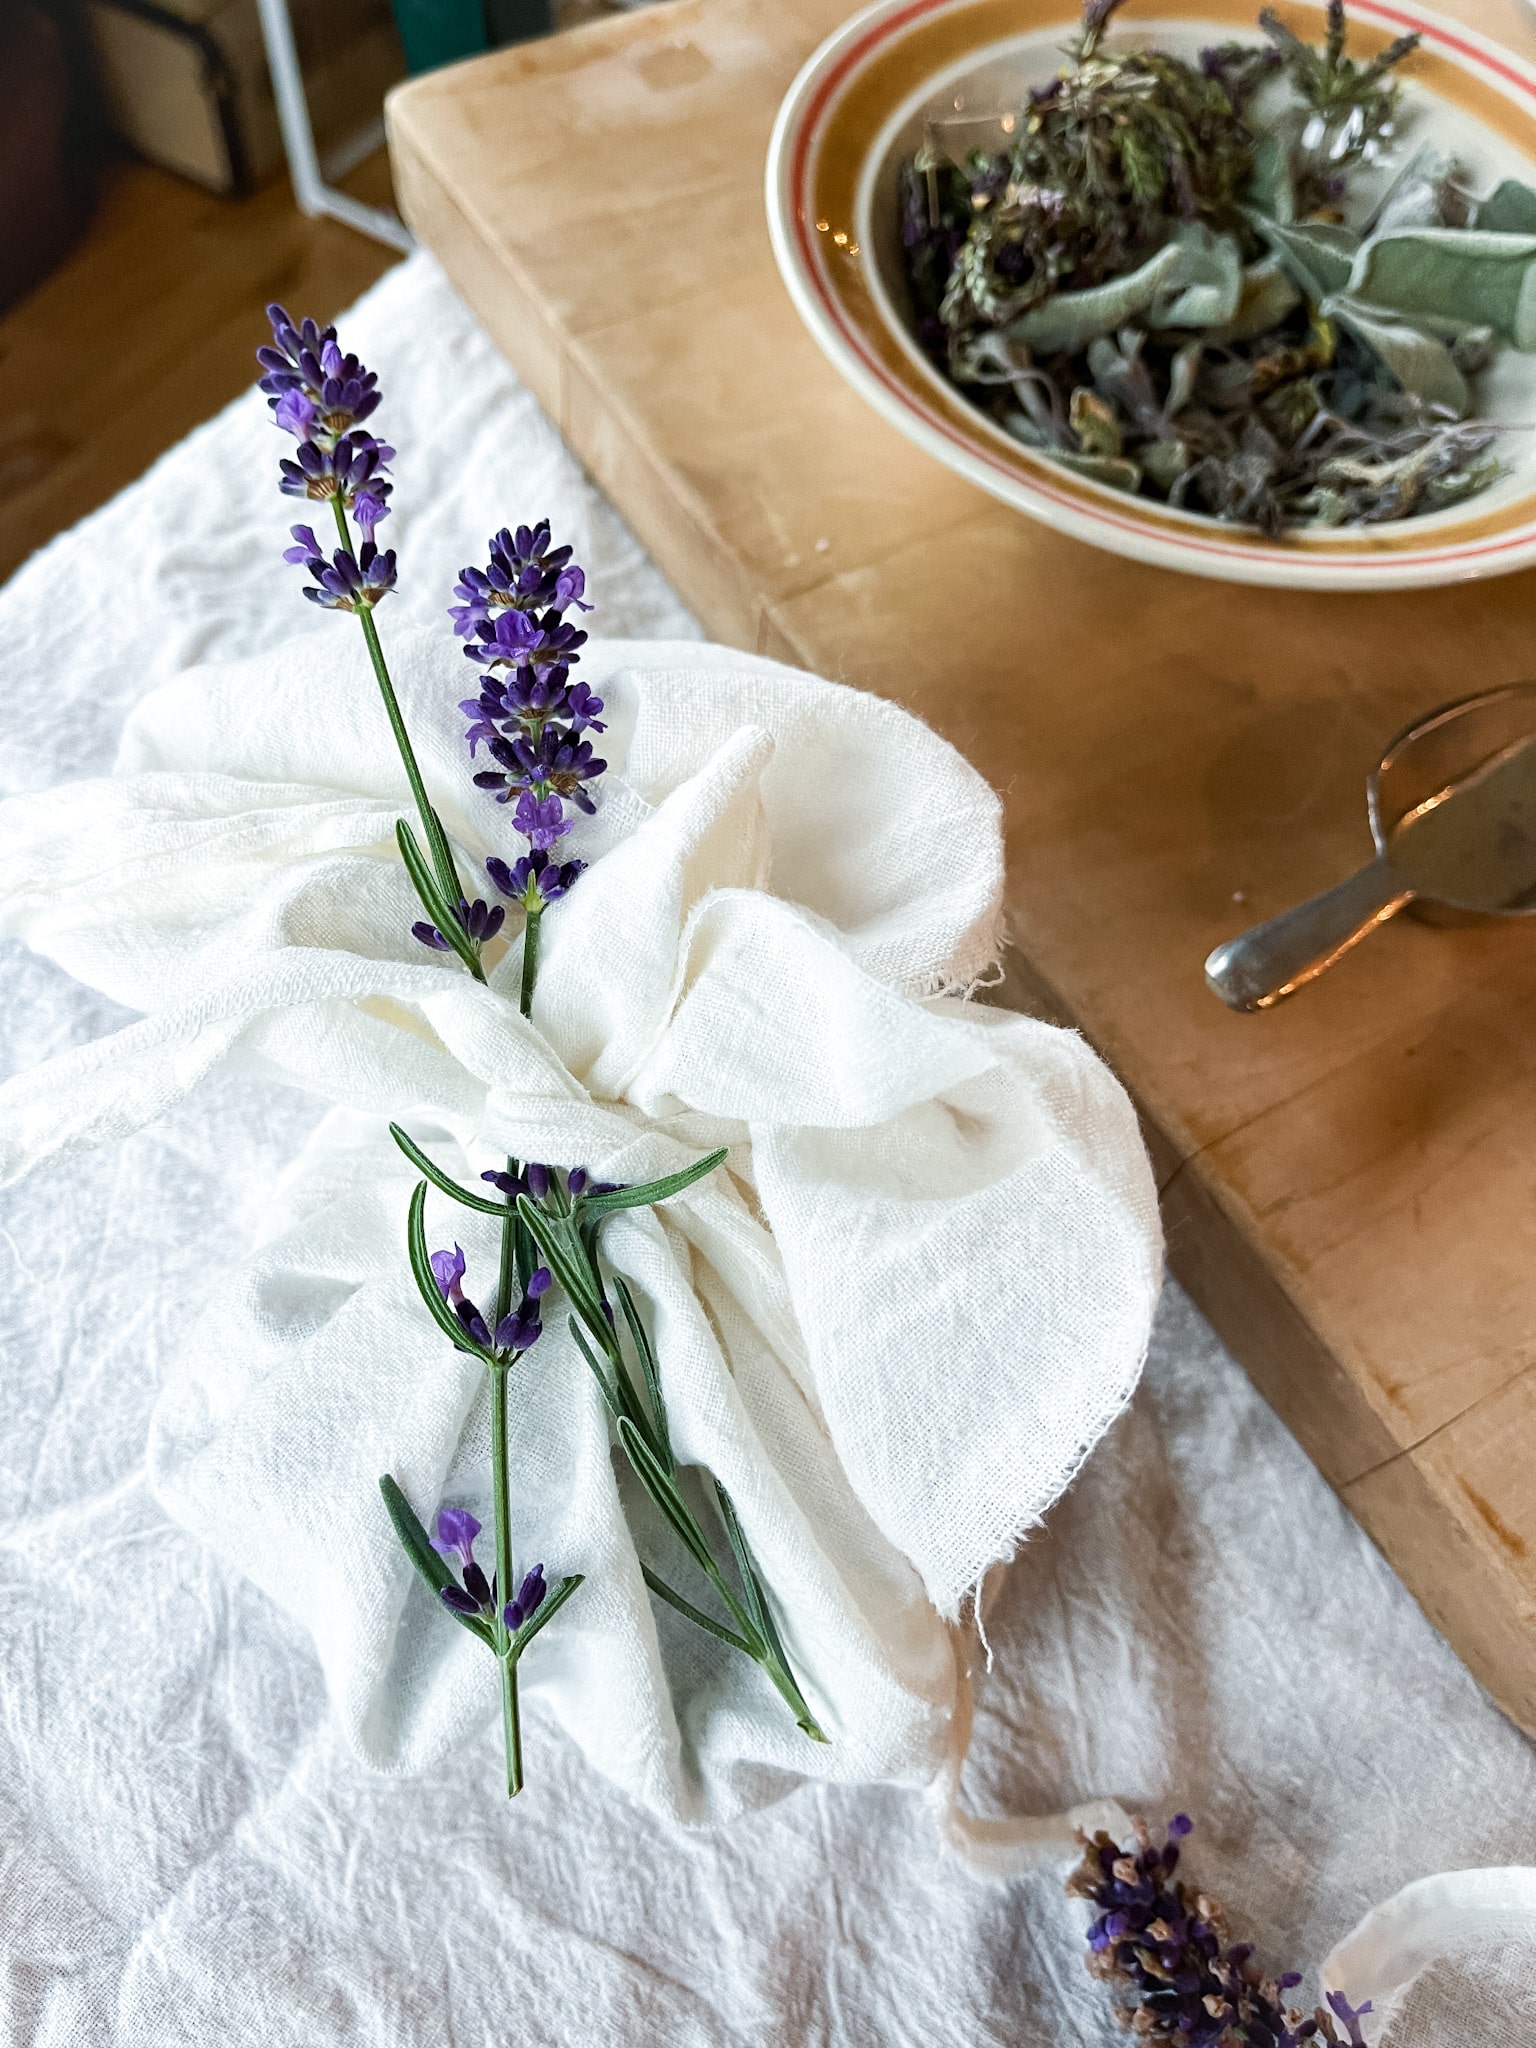
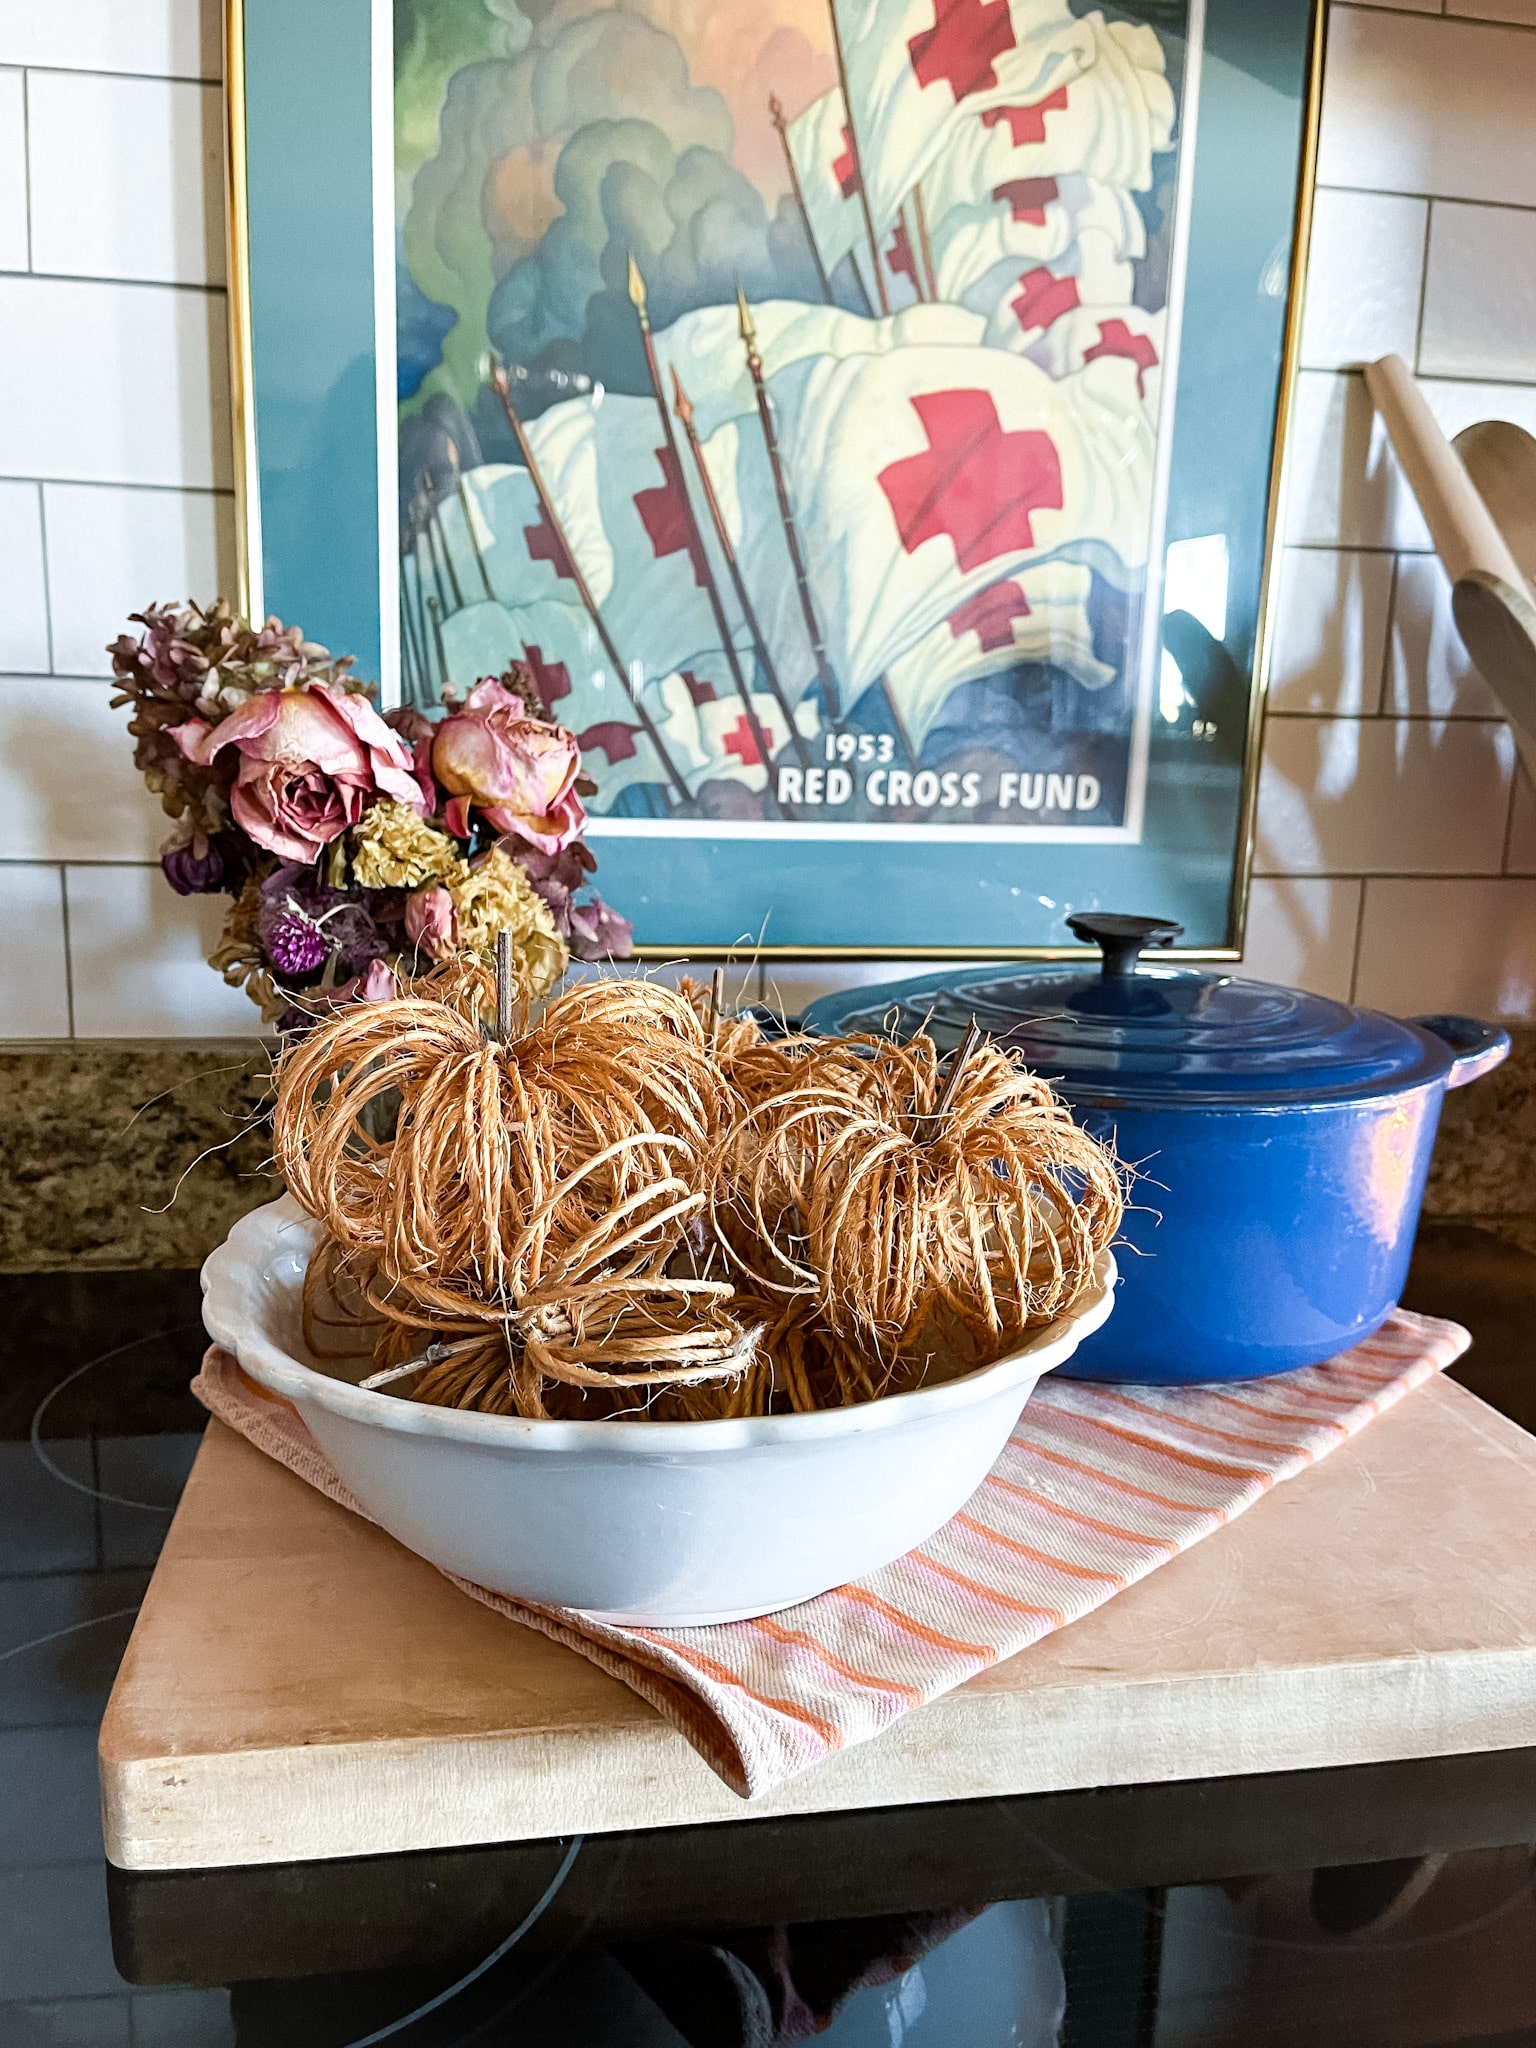
I decided that the pumpkins would look perfect in one of my ironstone BOWLS. I love the texture and color of the pumpkins set against the white smoothness of the bowl...plus the scalloped edge is so sweet!

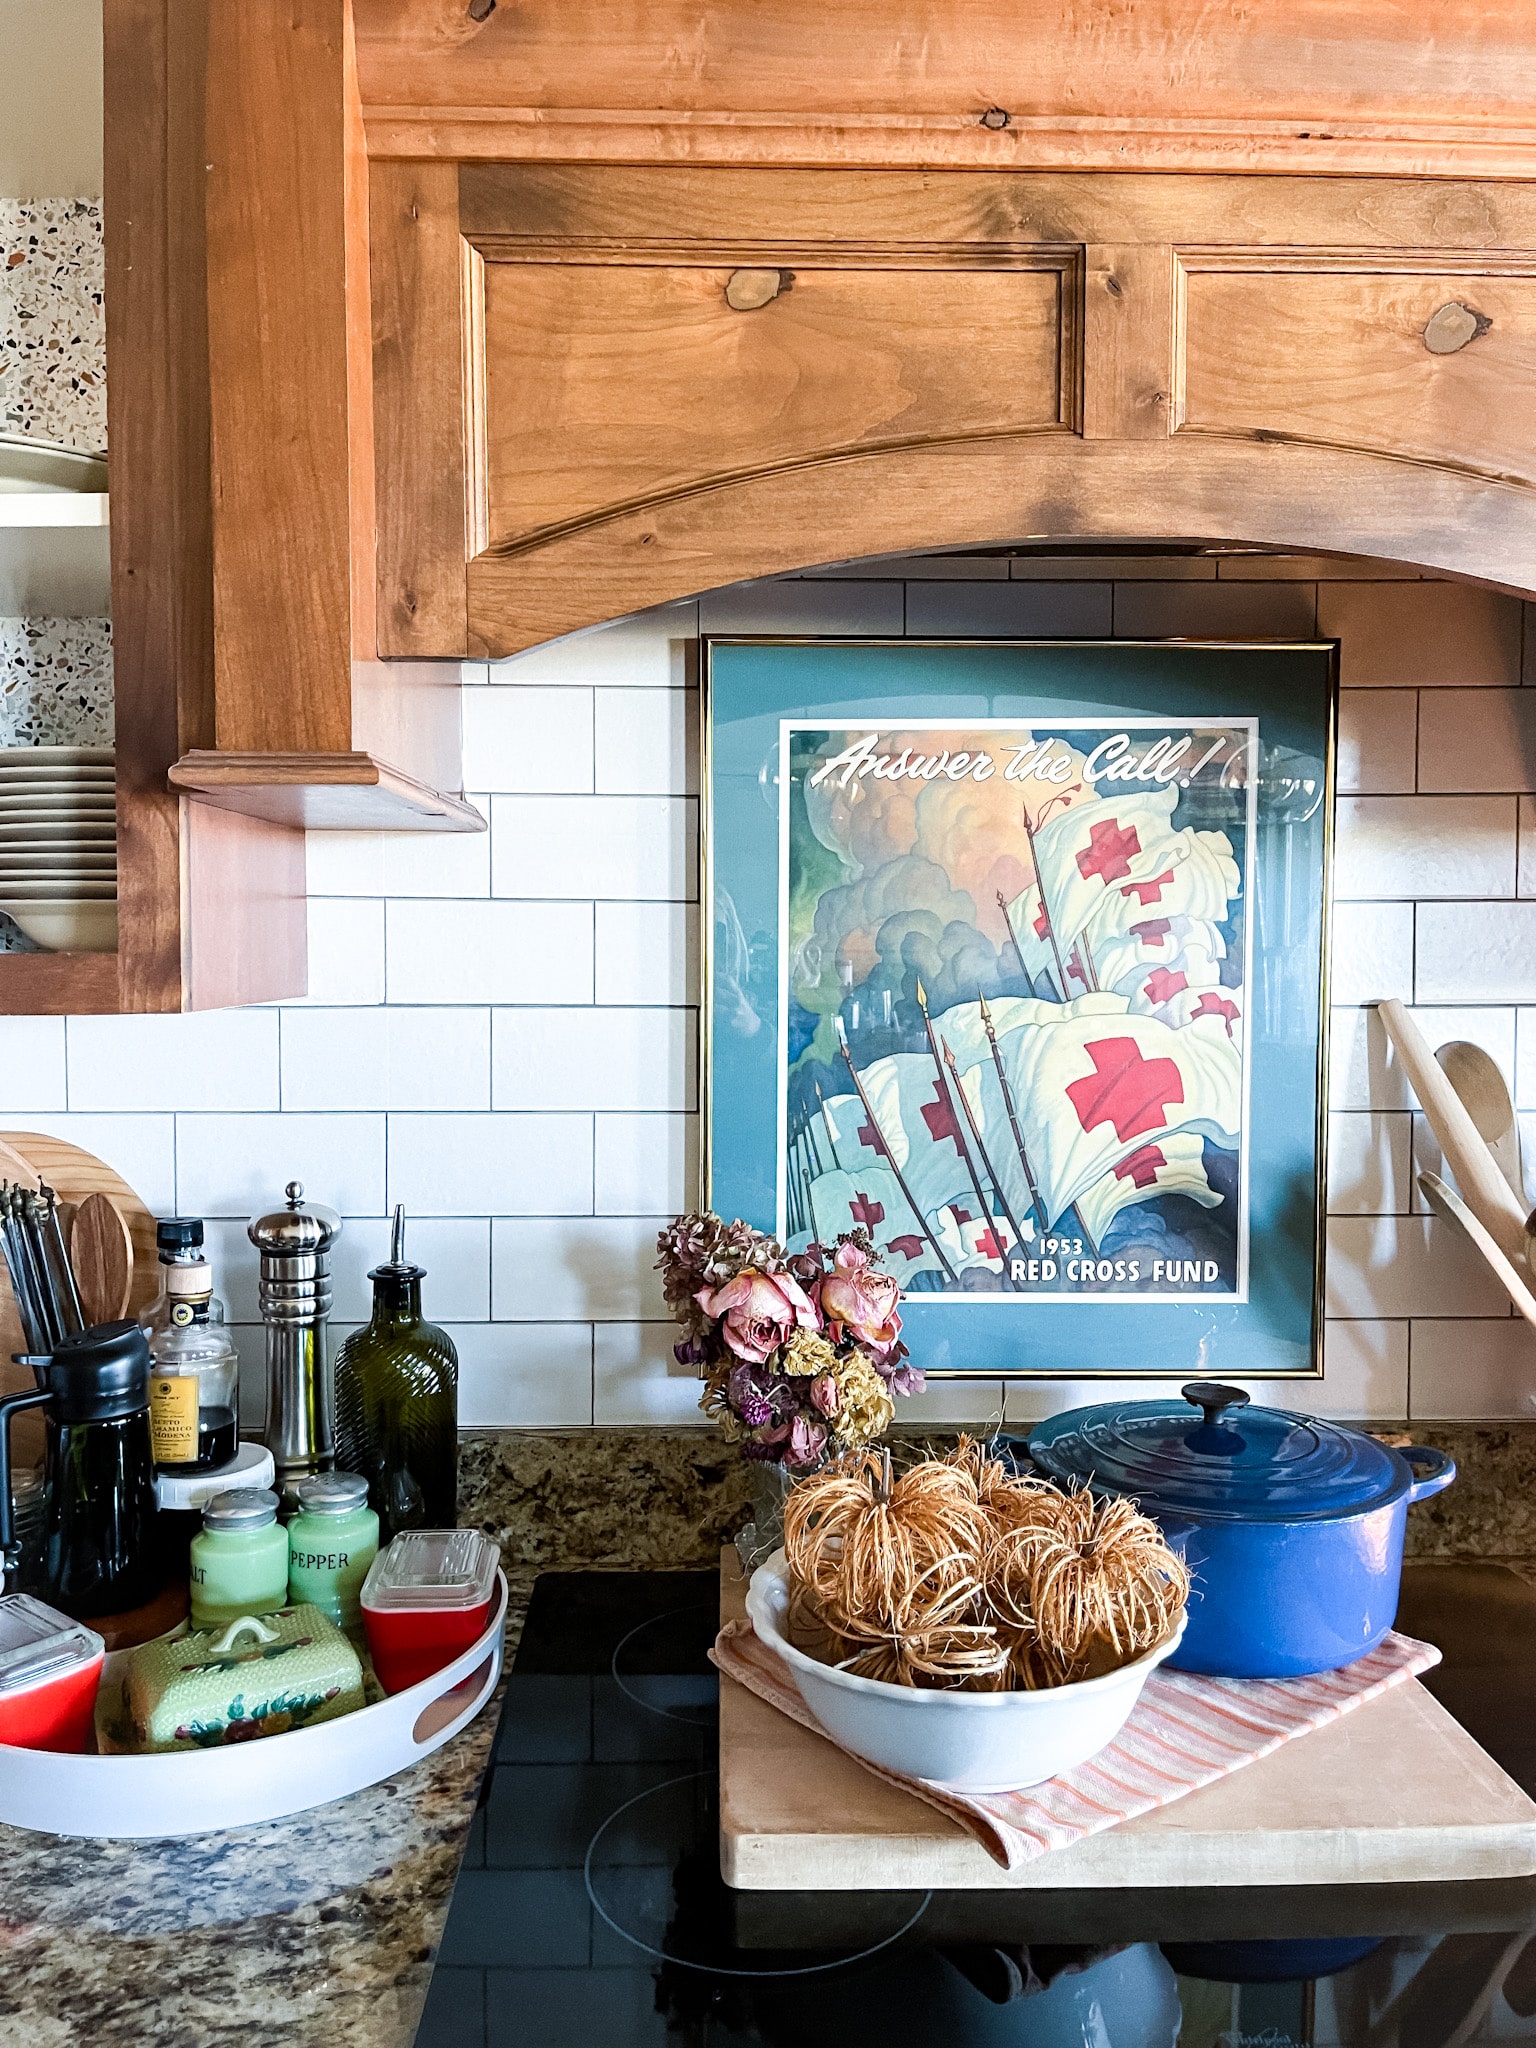
I had to work this vintage LE CREUSET DUTCH OVEN I scored at an estate sale the other day into the display. Not sure how "Fall-y" it is, but it still looks good nonetheless...and makes me so happy! I also added a dried bouquet of flowers from our yard that have continued to bring me so much joy. The only hard part of dried flowers is that I want to keep them forever...but after a while, they start to accumulate and I get too many. It's a good reminder to enjoy things in the moment and to let them go when the season passes.
I love creating little vignettes on our stovetop to make the space a little prettier. I don't love that our stove is centerstage in our kitchen, but we won't ever be changing that, so making it look a bit more special is something I can do. I normally start with a LARGE CUTTING BOARD or tray, then layer it with a towel, flowers, a candle...the options are endless!

I love how cute these pumpkins turned out and look forward to having them be a part of my seasonal decor this fall. If you decide to try making them, I'd love to see! Share them to your INSTAGRAM and tag me so I can take a peek!
Products* to buy

.jpg)