Budget-Friendly Solar Light DIY Upgrade
SHARE THIS POST OR PIN IT FOR LATER!
*This post may contain affiliate links. Thank you for supporting my small business…at no extra cost to yourself!
Sometimes the projects I work on are so easy, I doubt myself in sharing them with you. However, even if the steps themselves aren't difficult, it can often be tough to come up with the motivation to do the things. Hopefully this post will help spark your creativity and encourage you to do this very easy DIY project of upgrading your OUTDOOR SOLAR LIGHTS!
To be fair, the solar lights I ordered were fine on their own. Isn't that the truth with most of the things we work on? They're fine...but that's it. My goal is always to make things a little "extra" or special and that's just what this project is about. When I first set out to upgrade the solar lights I ordered with some cut glass bowls, I was hoping to find them at the thrift store. Turns out, they were not plentiful at the stores I was shopping and the ones I did manage to find were quite expensive. If I'd allowed myself enough time, I probably could have found some to use eventually, but I wanted to work on this project sooner rather than later.
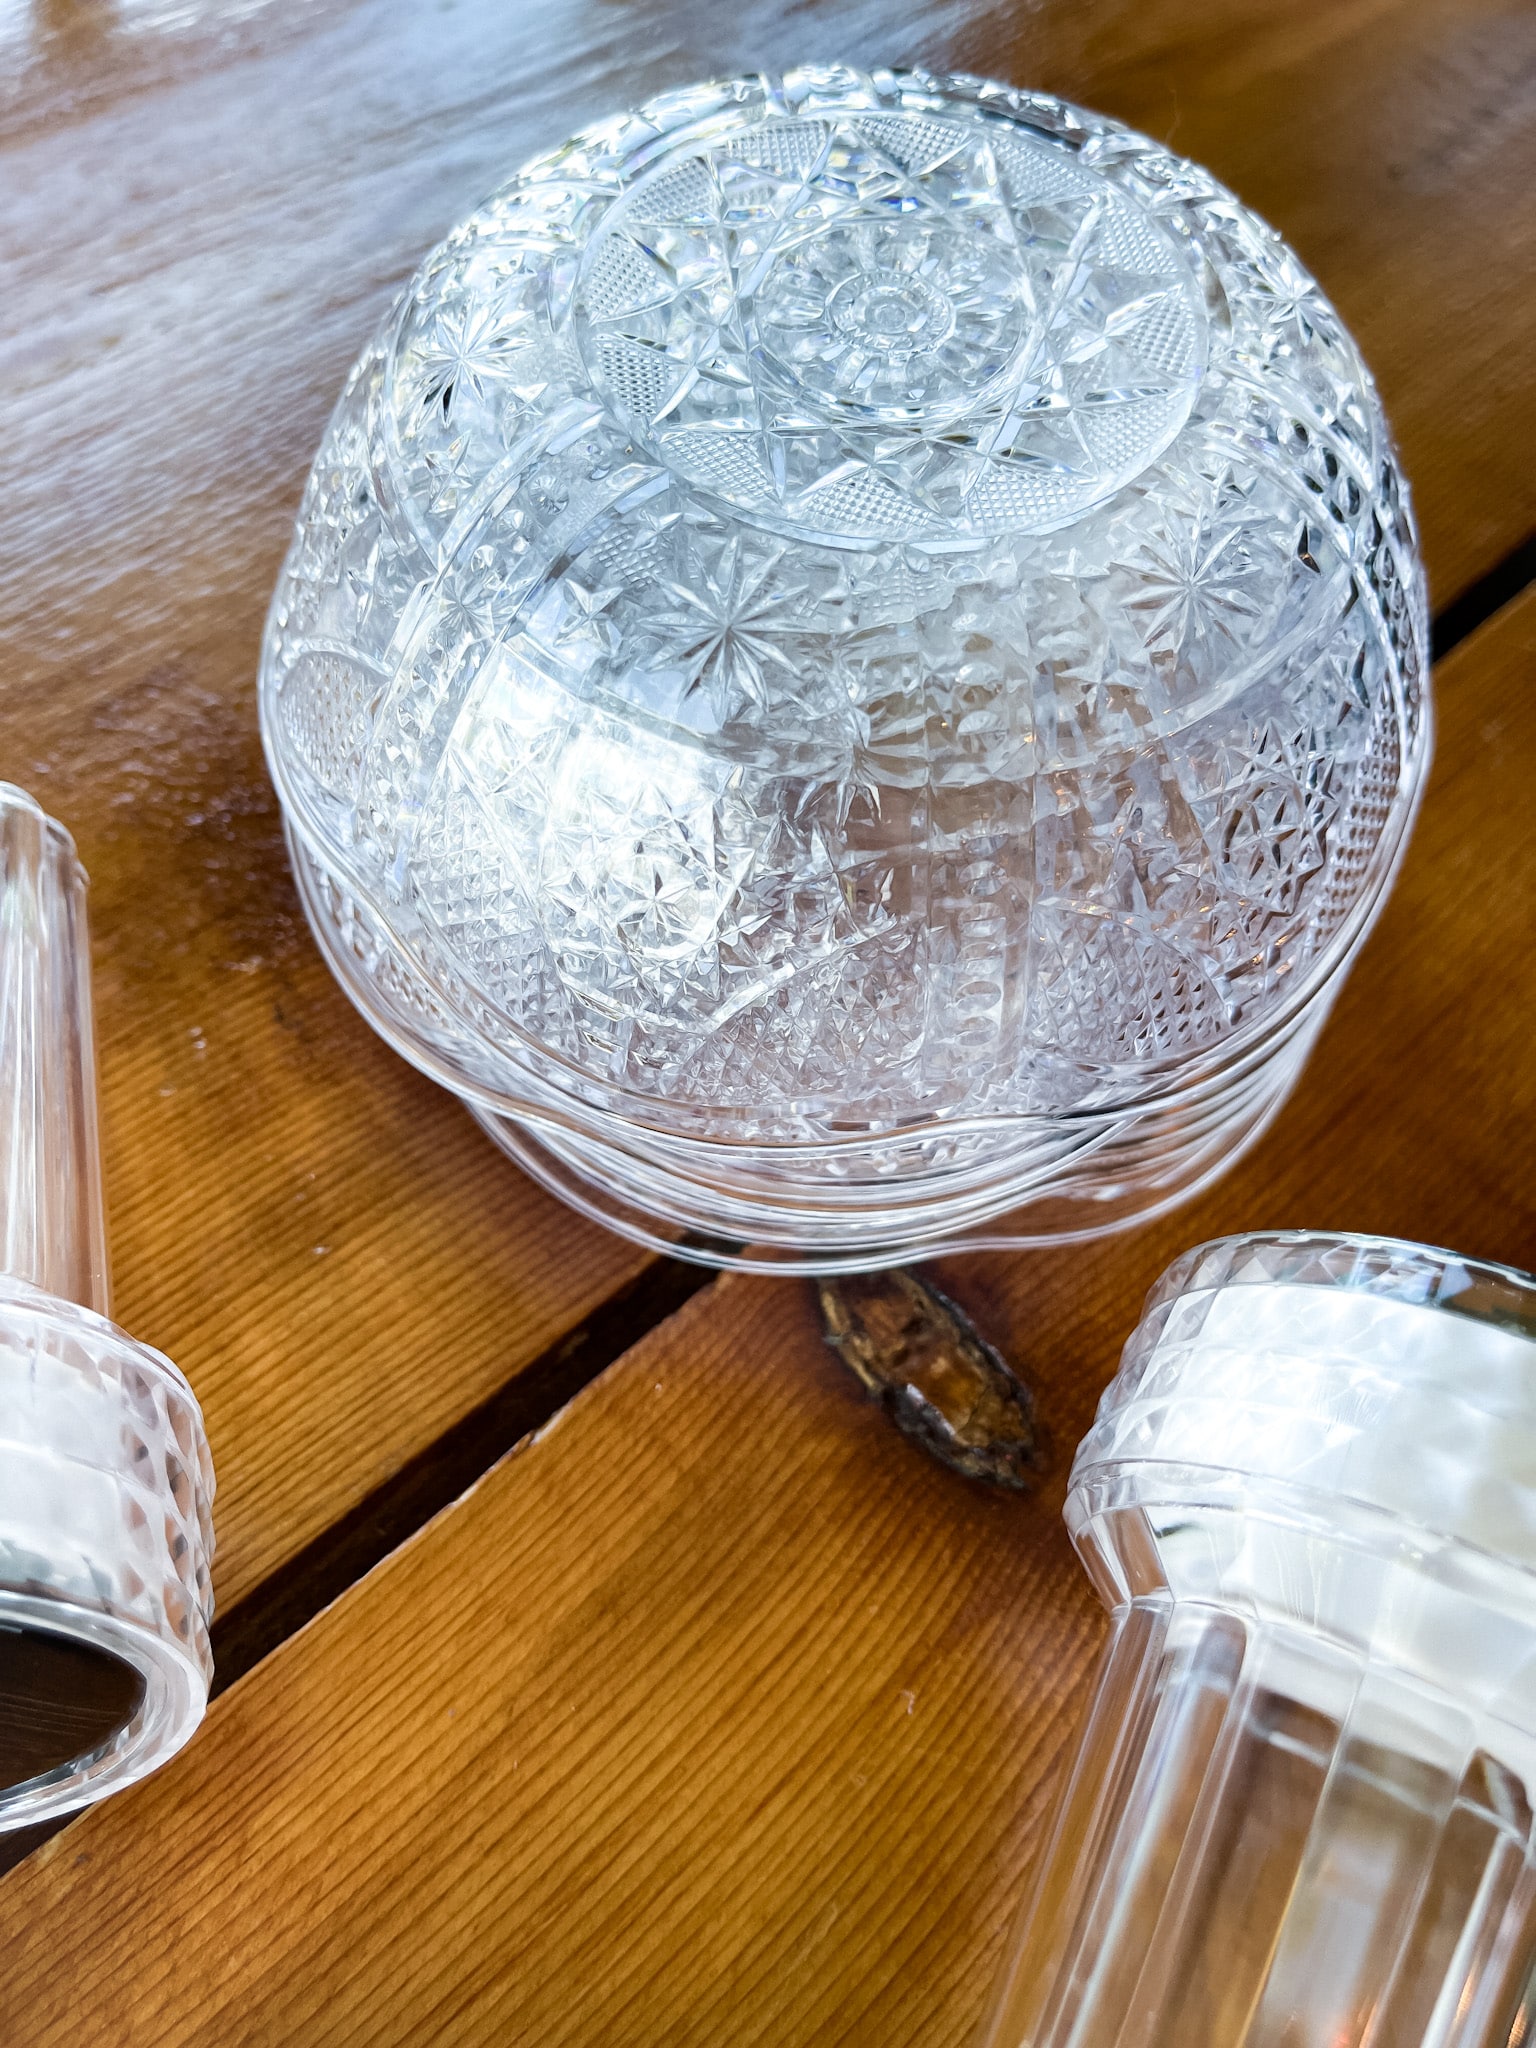
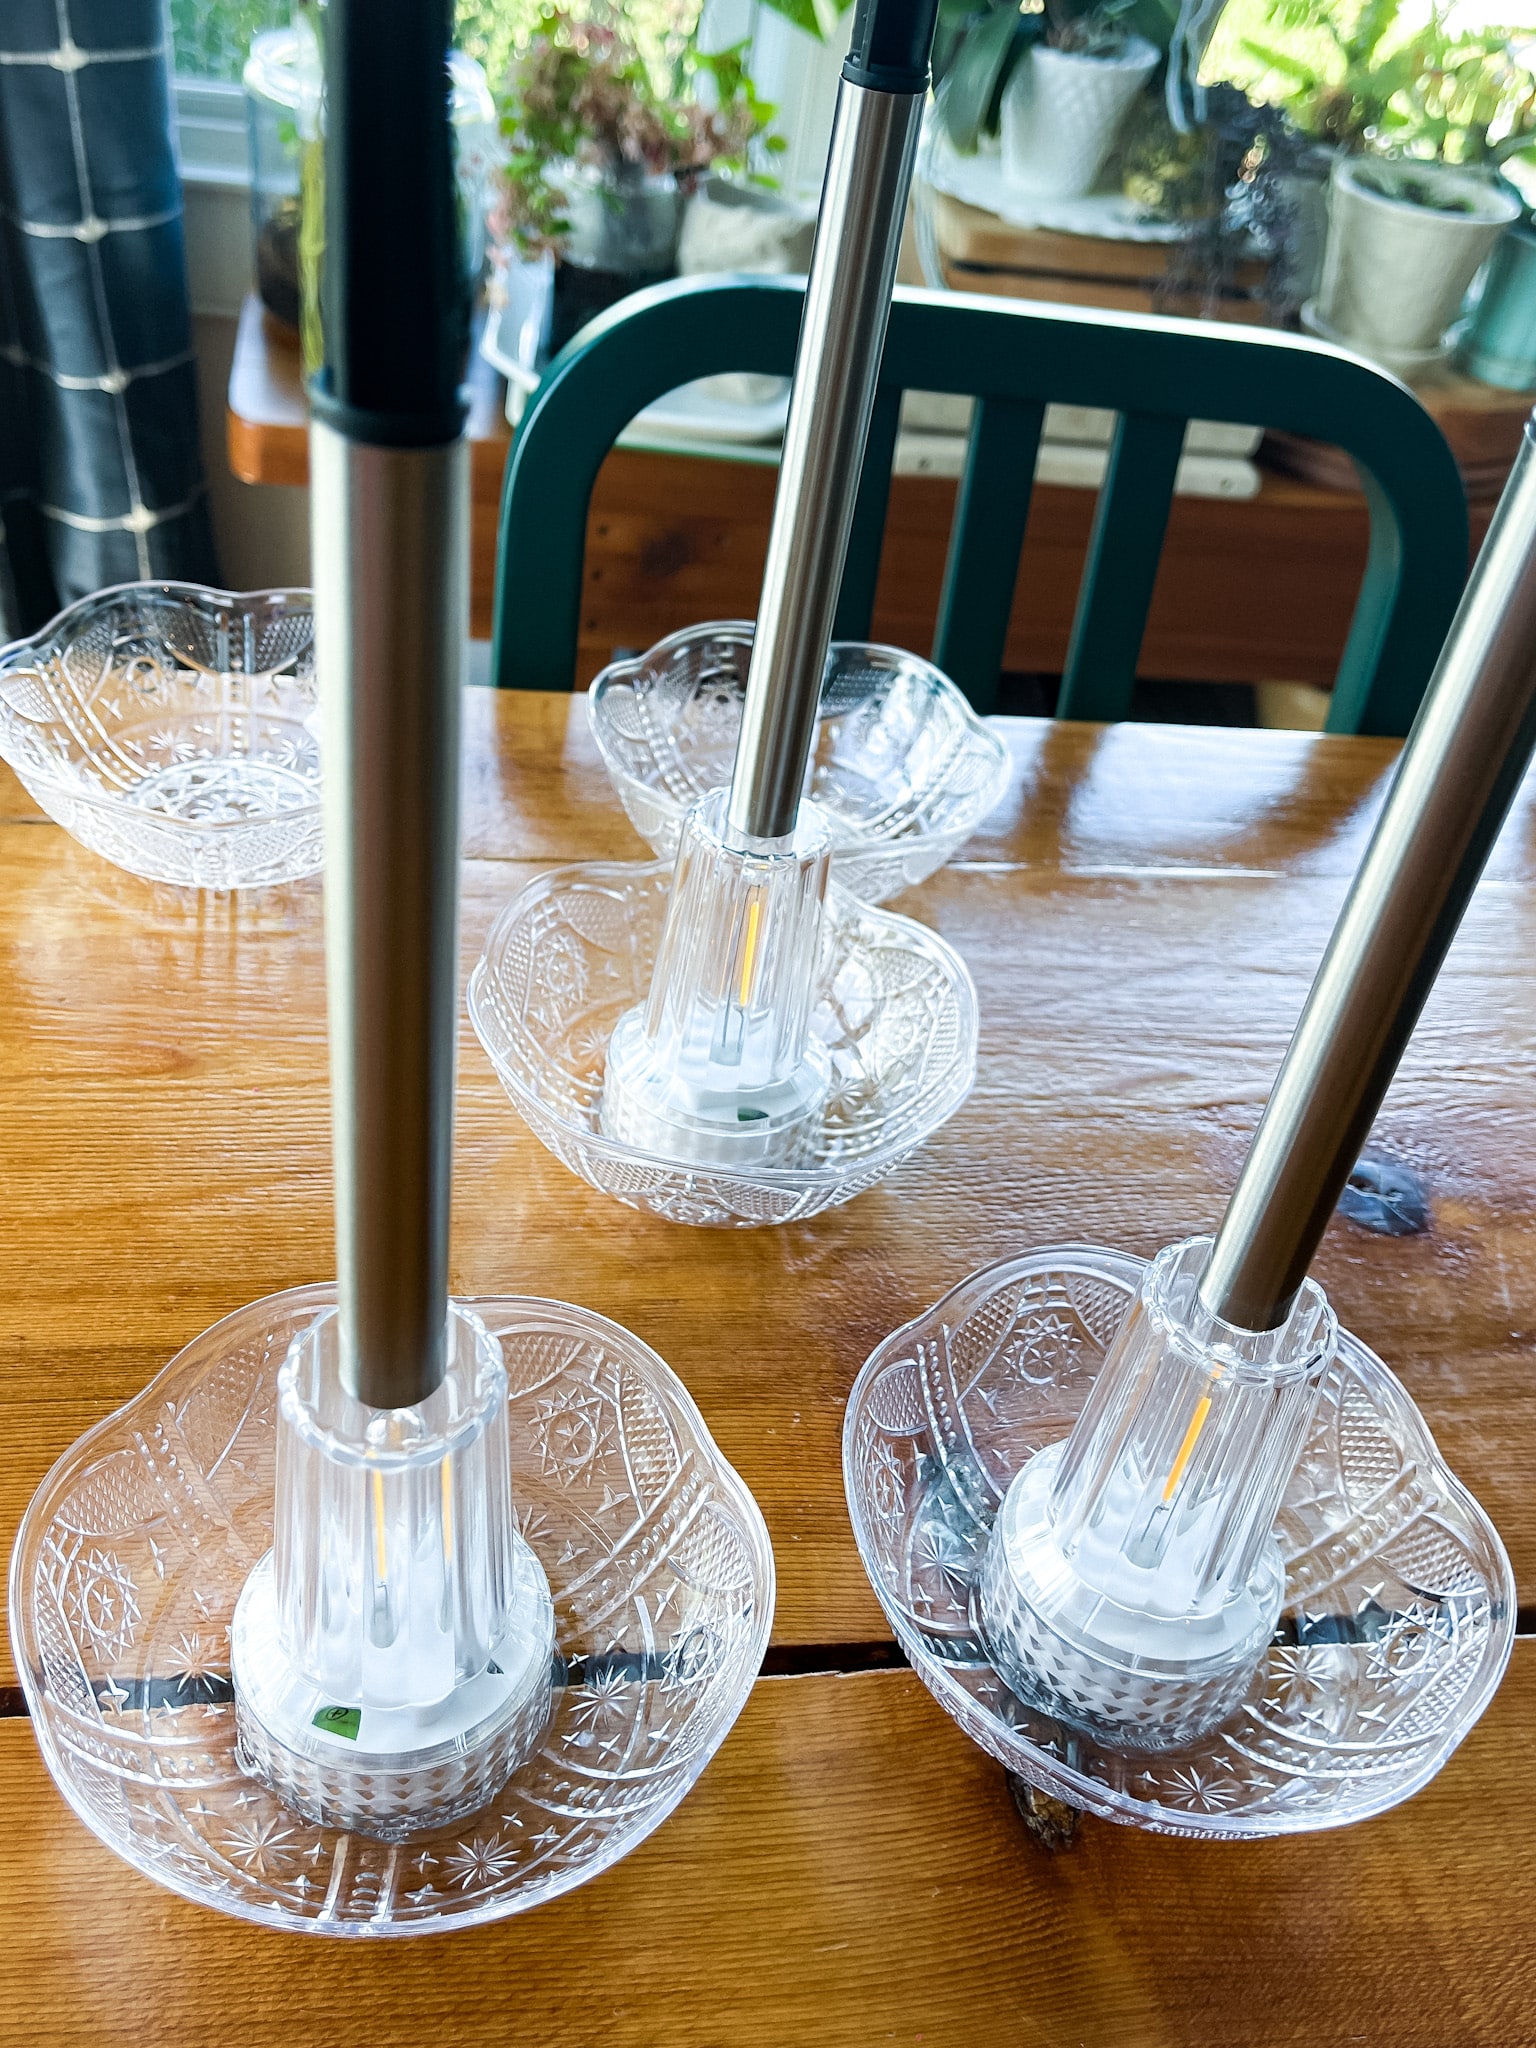
I ended up finding the perfect little "cut glass" bowls at the Dollar Tree, but they're plastic instead of glass. I'm actually really pleased with how well these little bowls worked for the project and they're very light weight, so they don't feel at all unstable.
You don't need much for this project, making it fun, easy, and budget-friendly--my favorite kind!
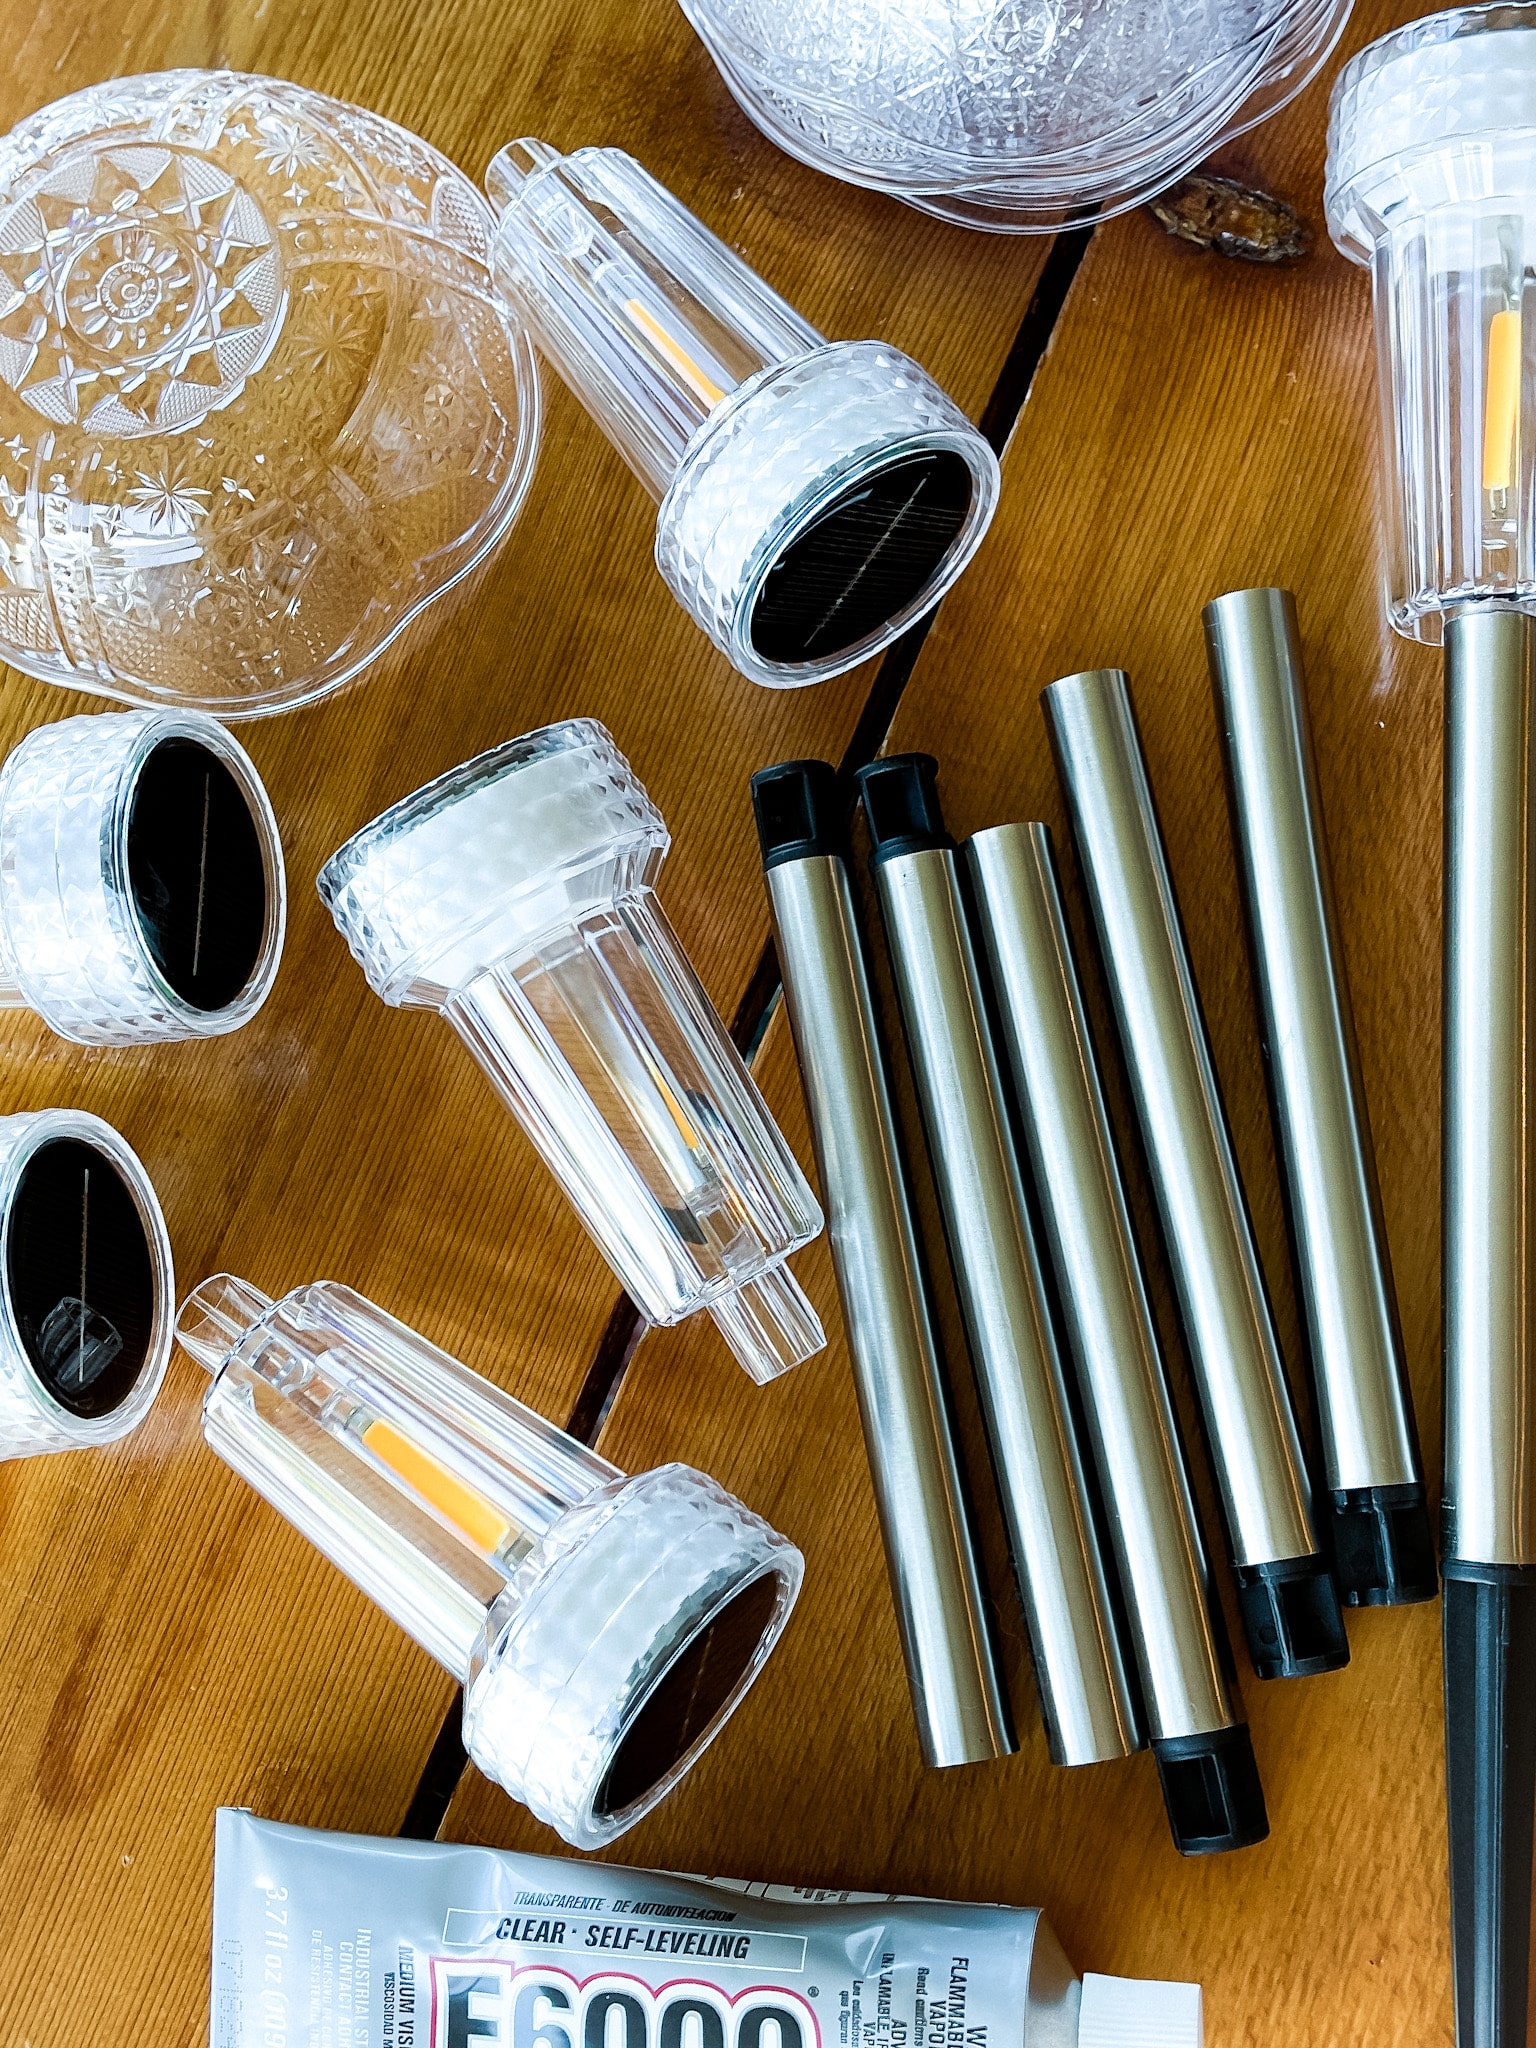
WHAT YOU'LL NEED:
CUT GLASS BOWLS (OR PLASTIC LIKE MINE)
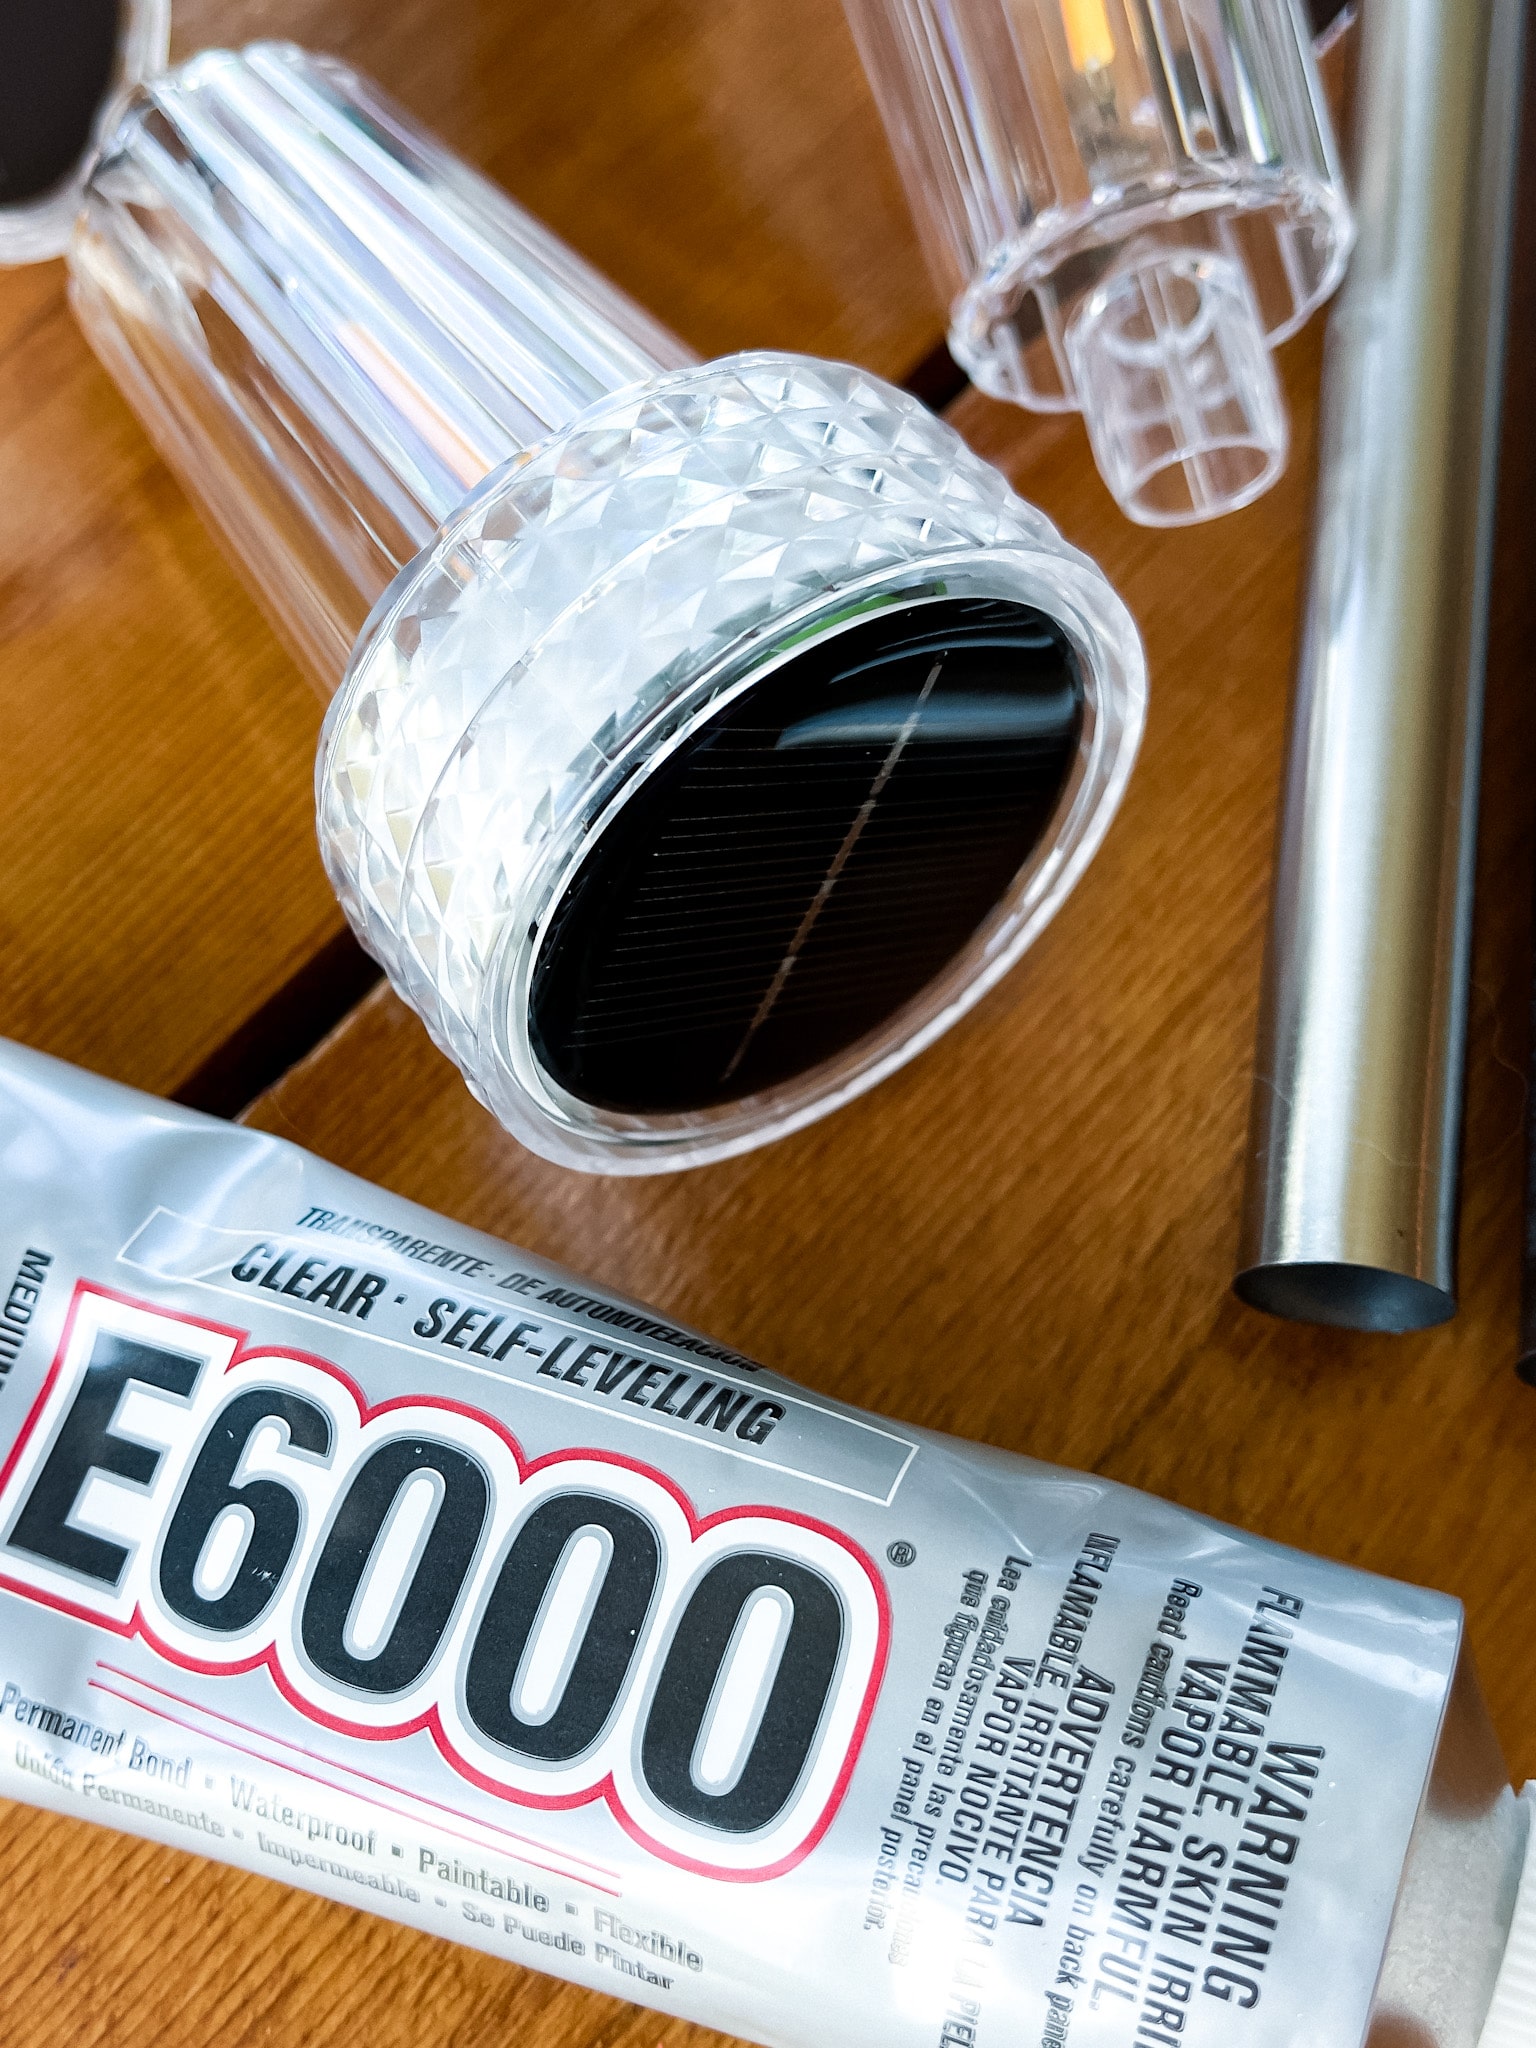
WATERPROOF ADHESIVE (I USE E6000)
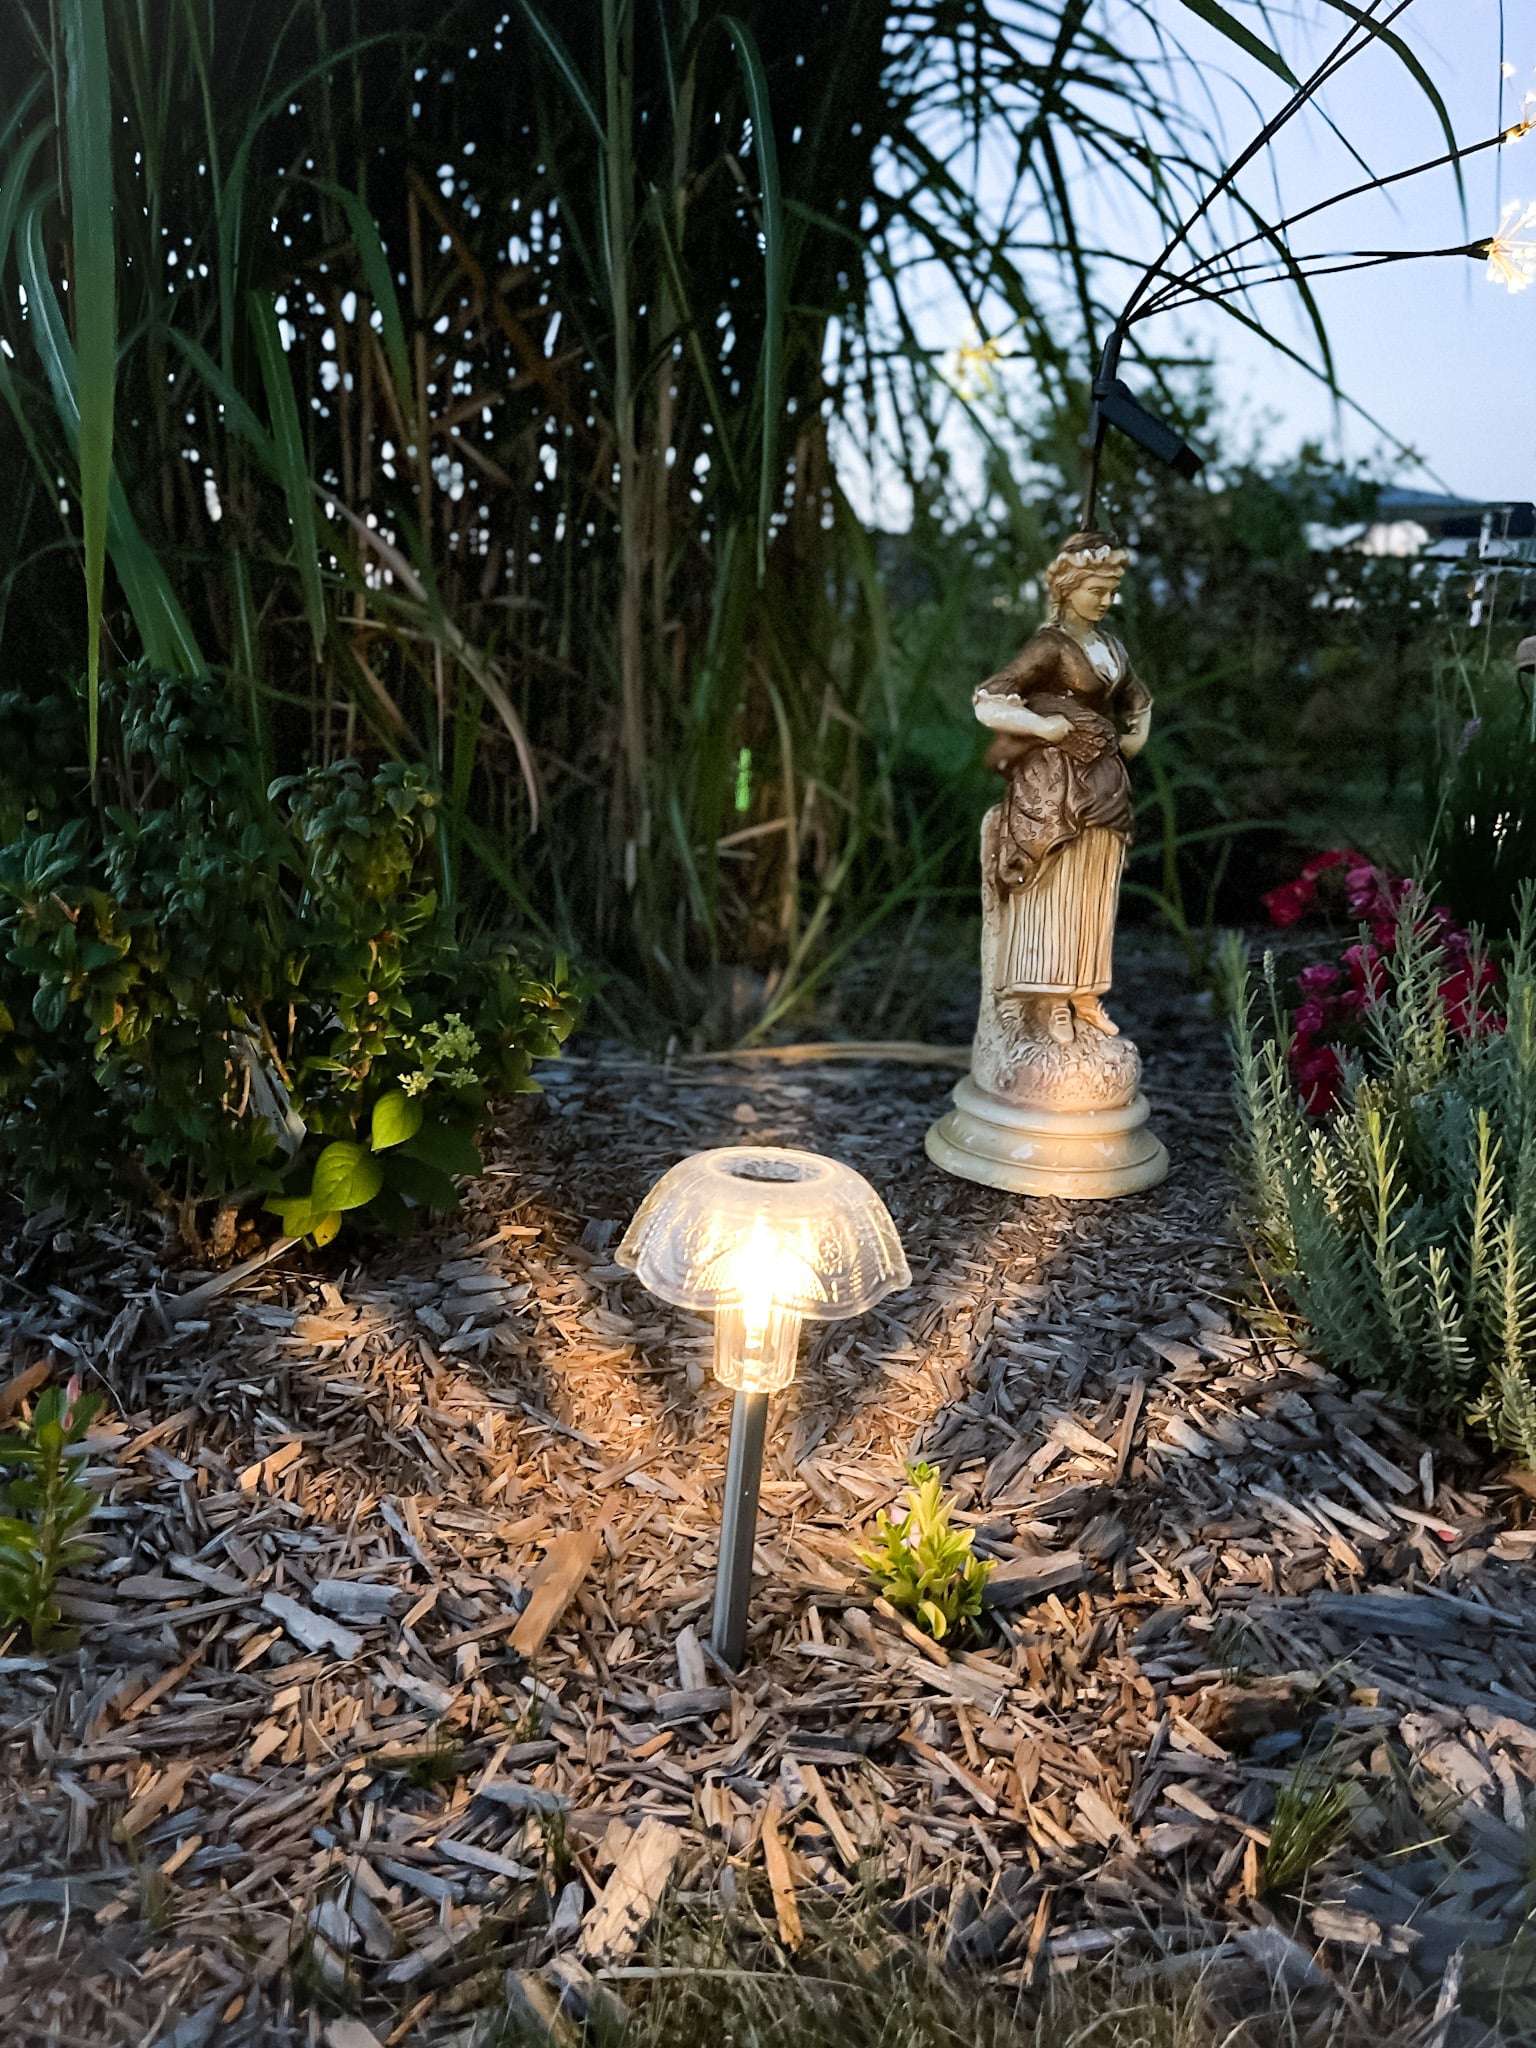
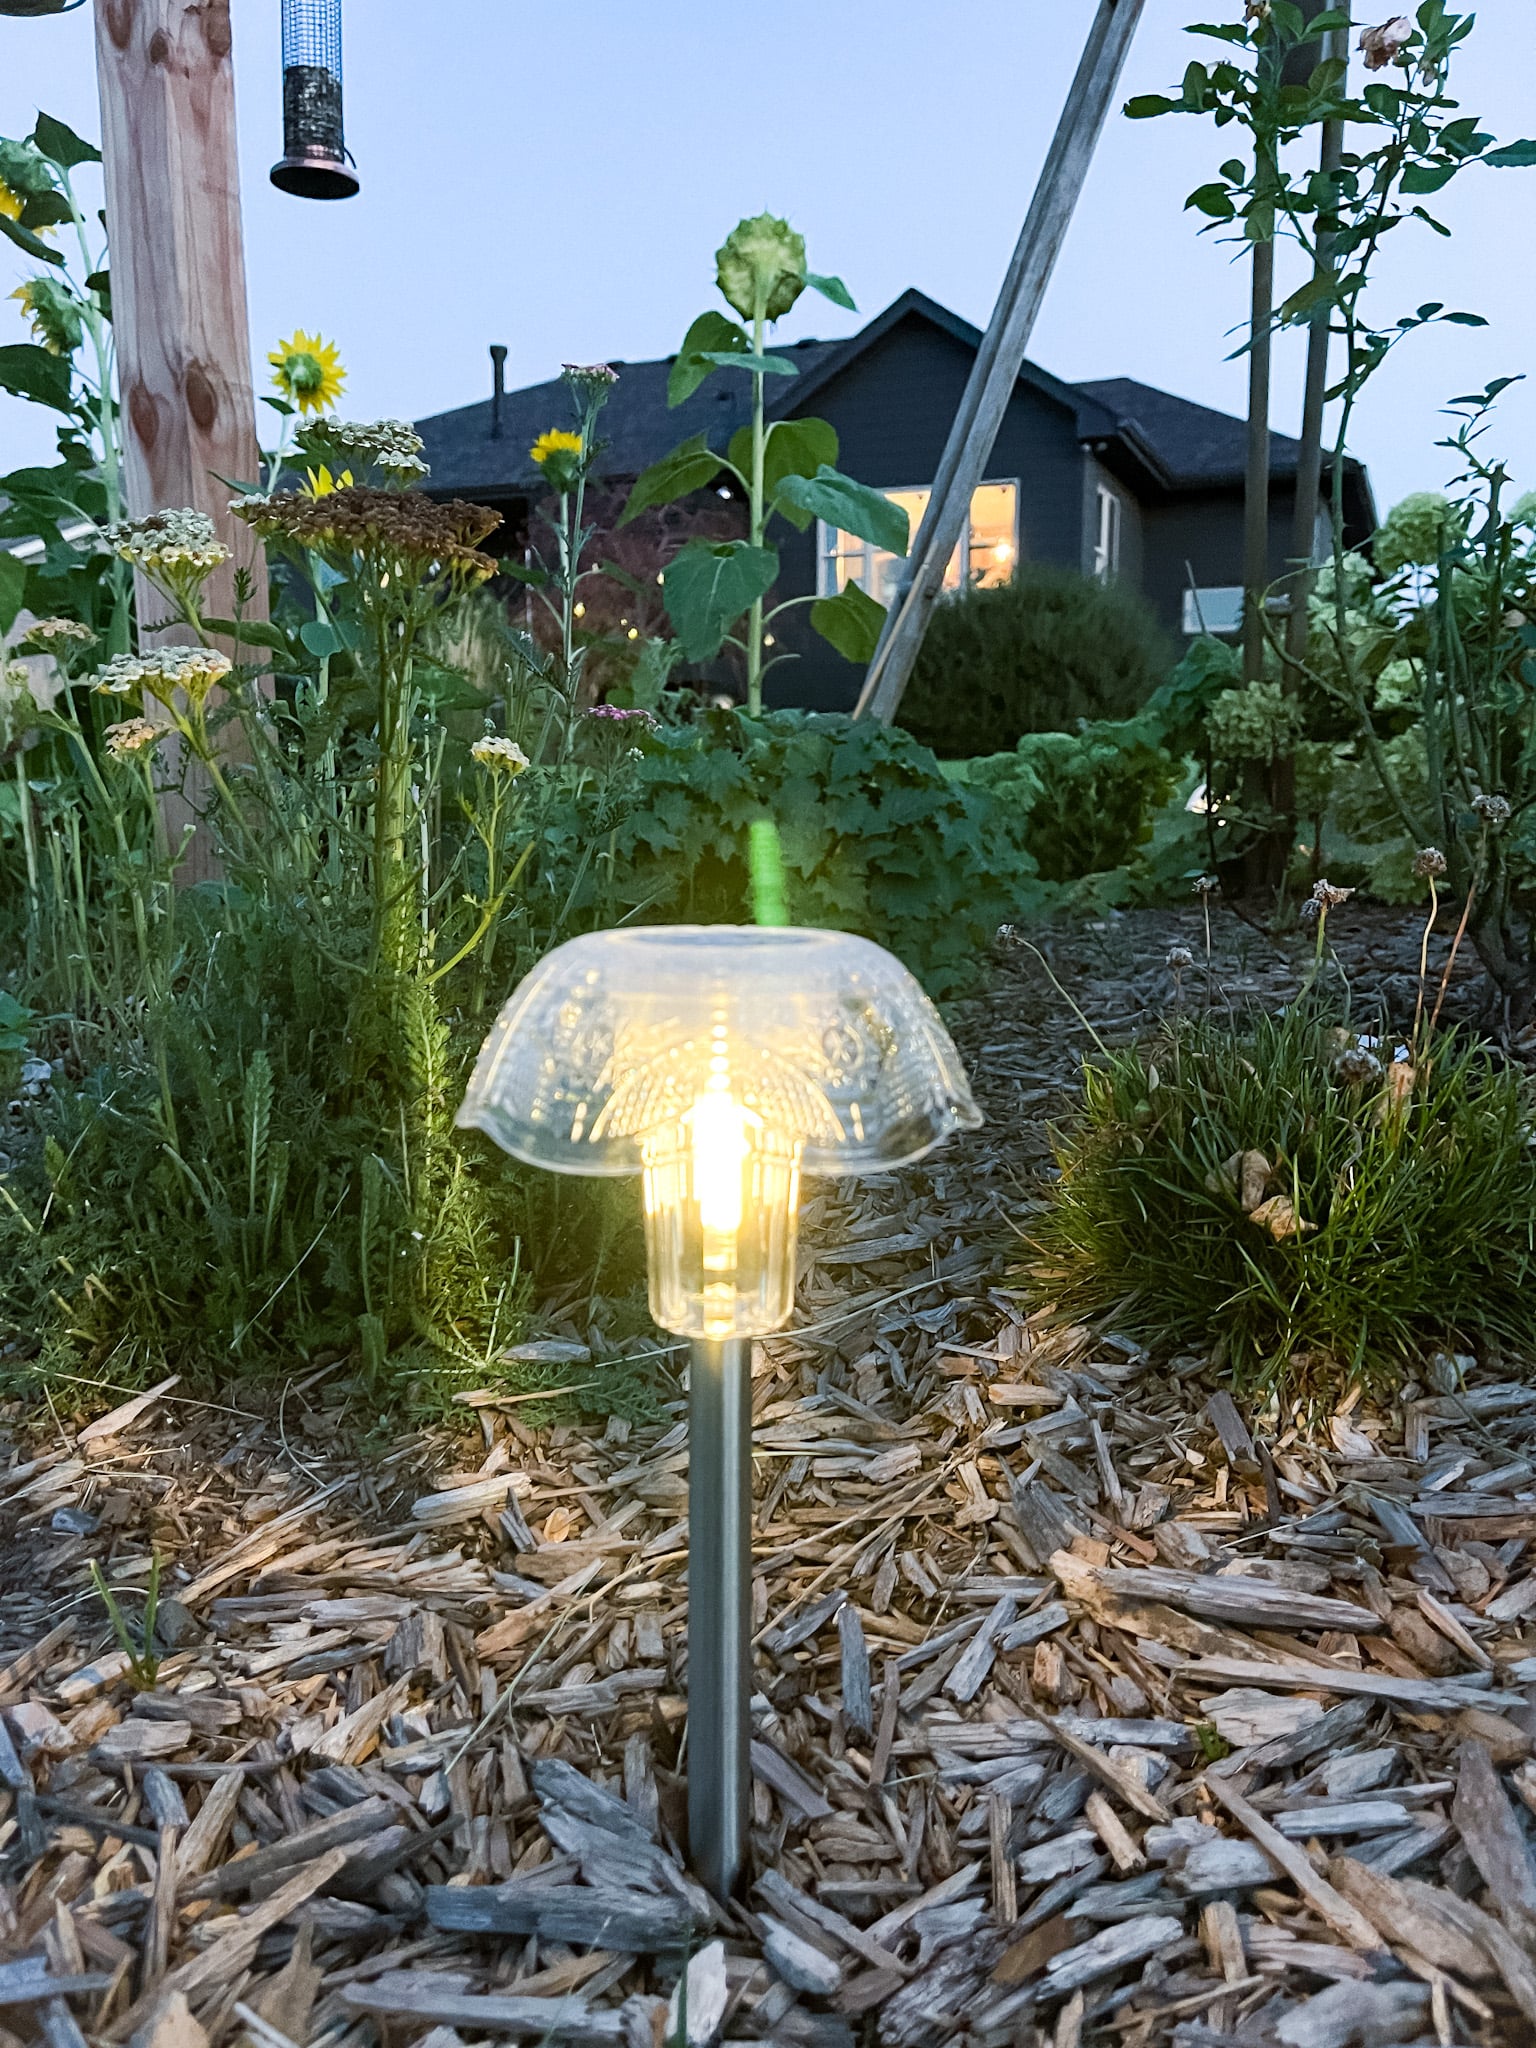
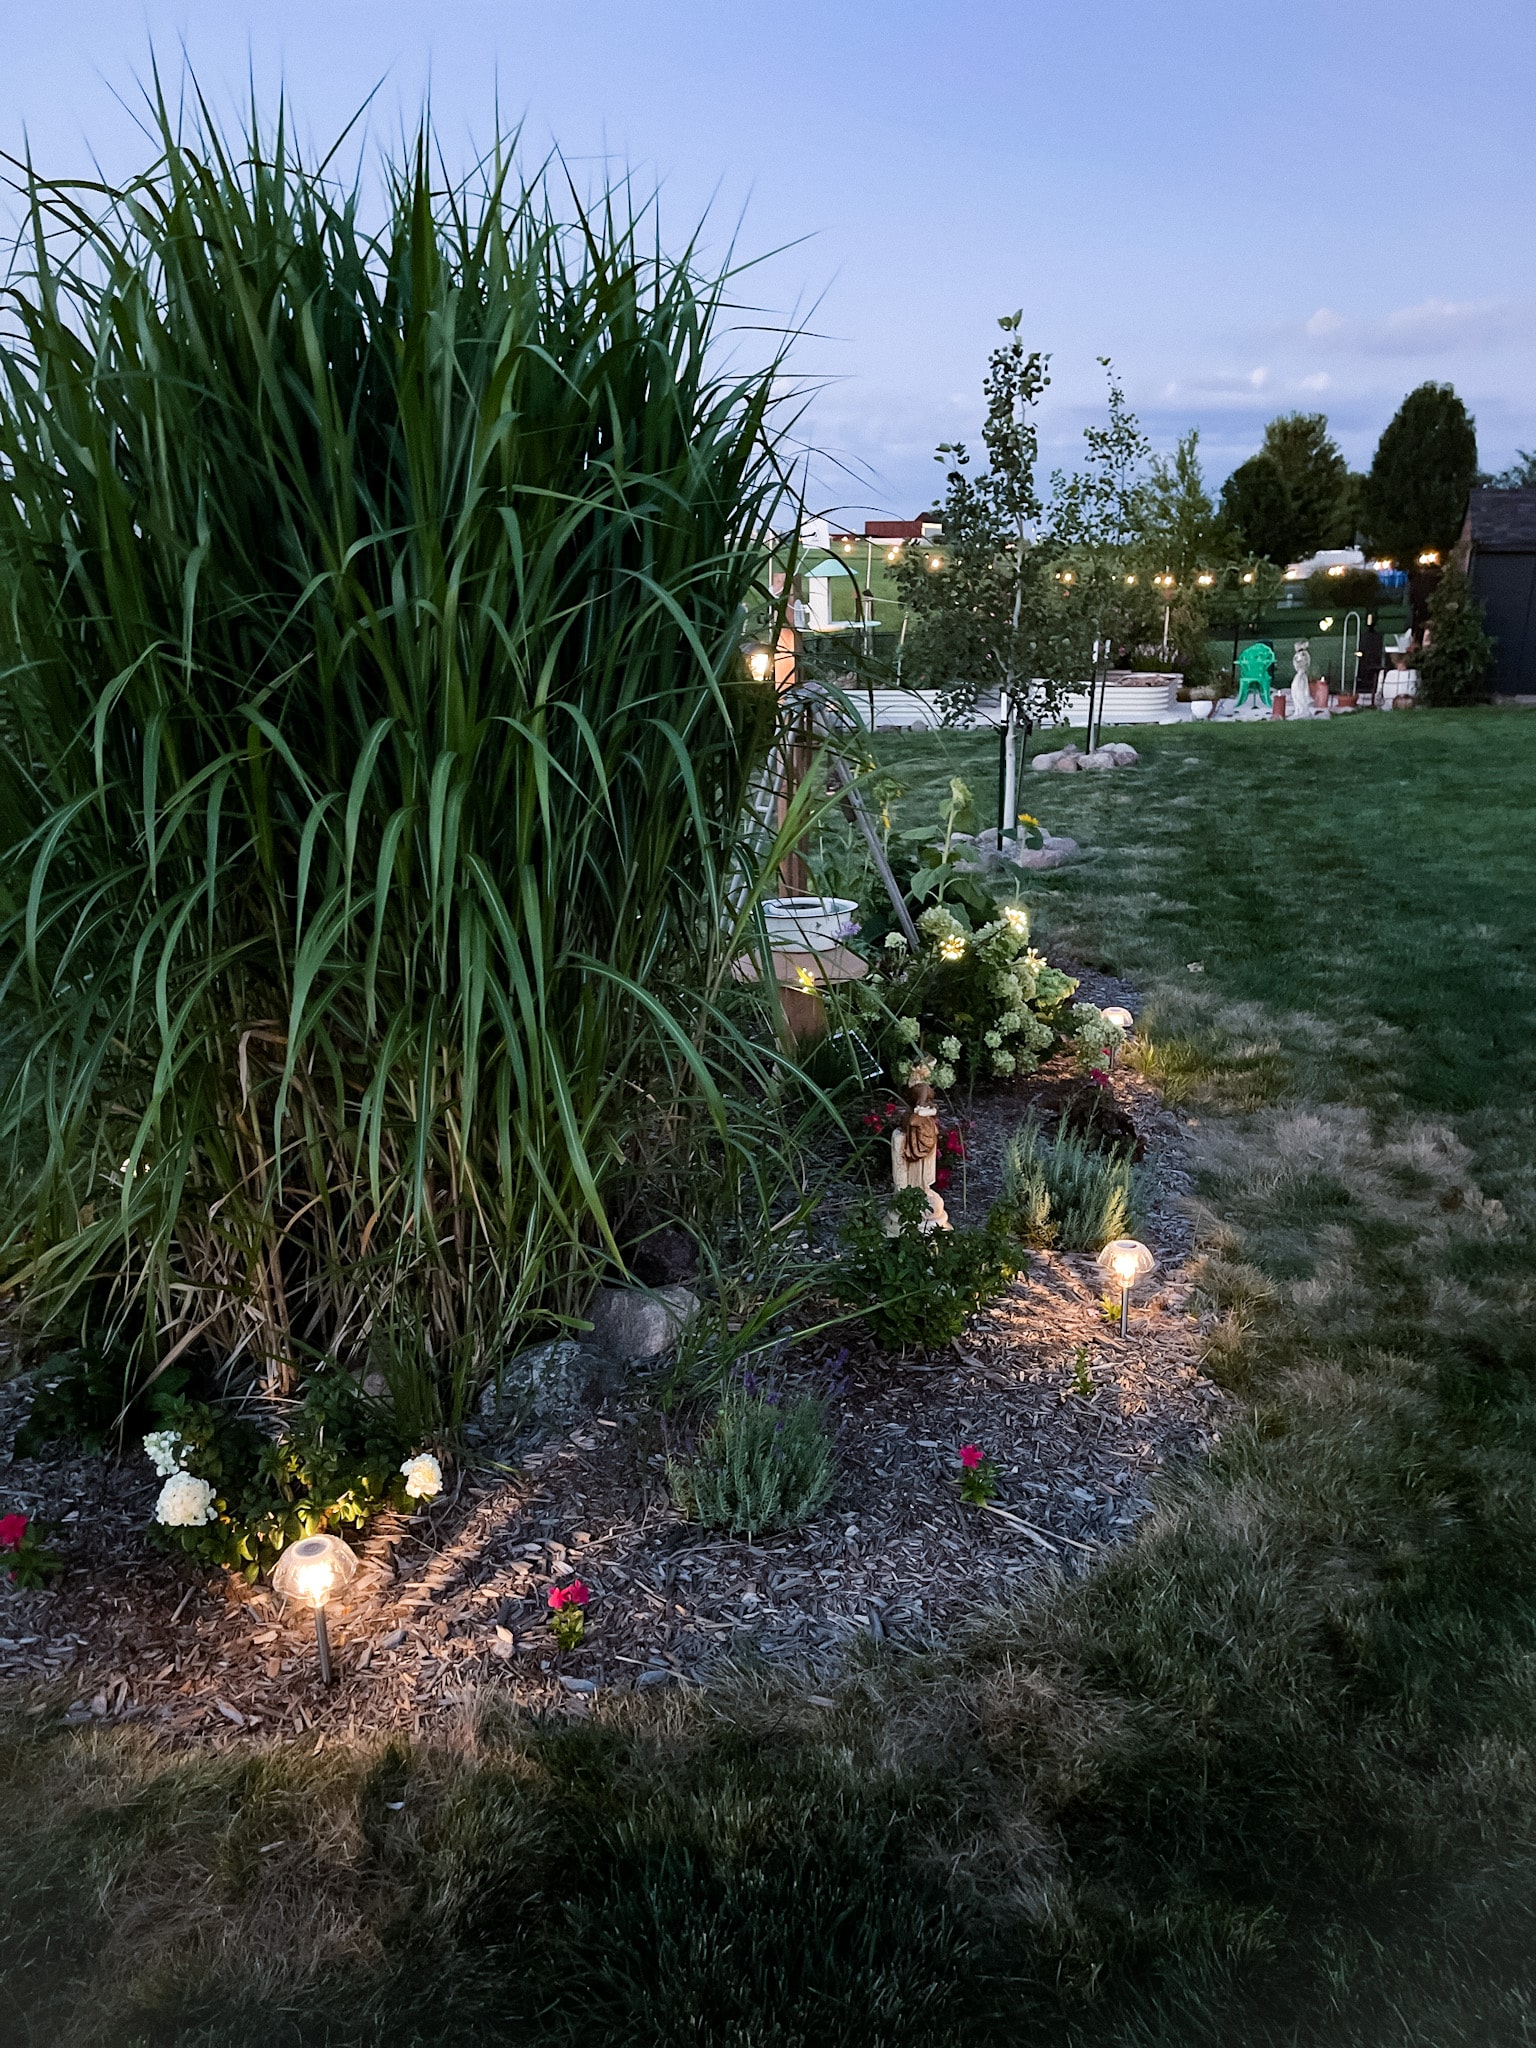
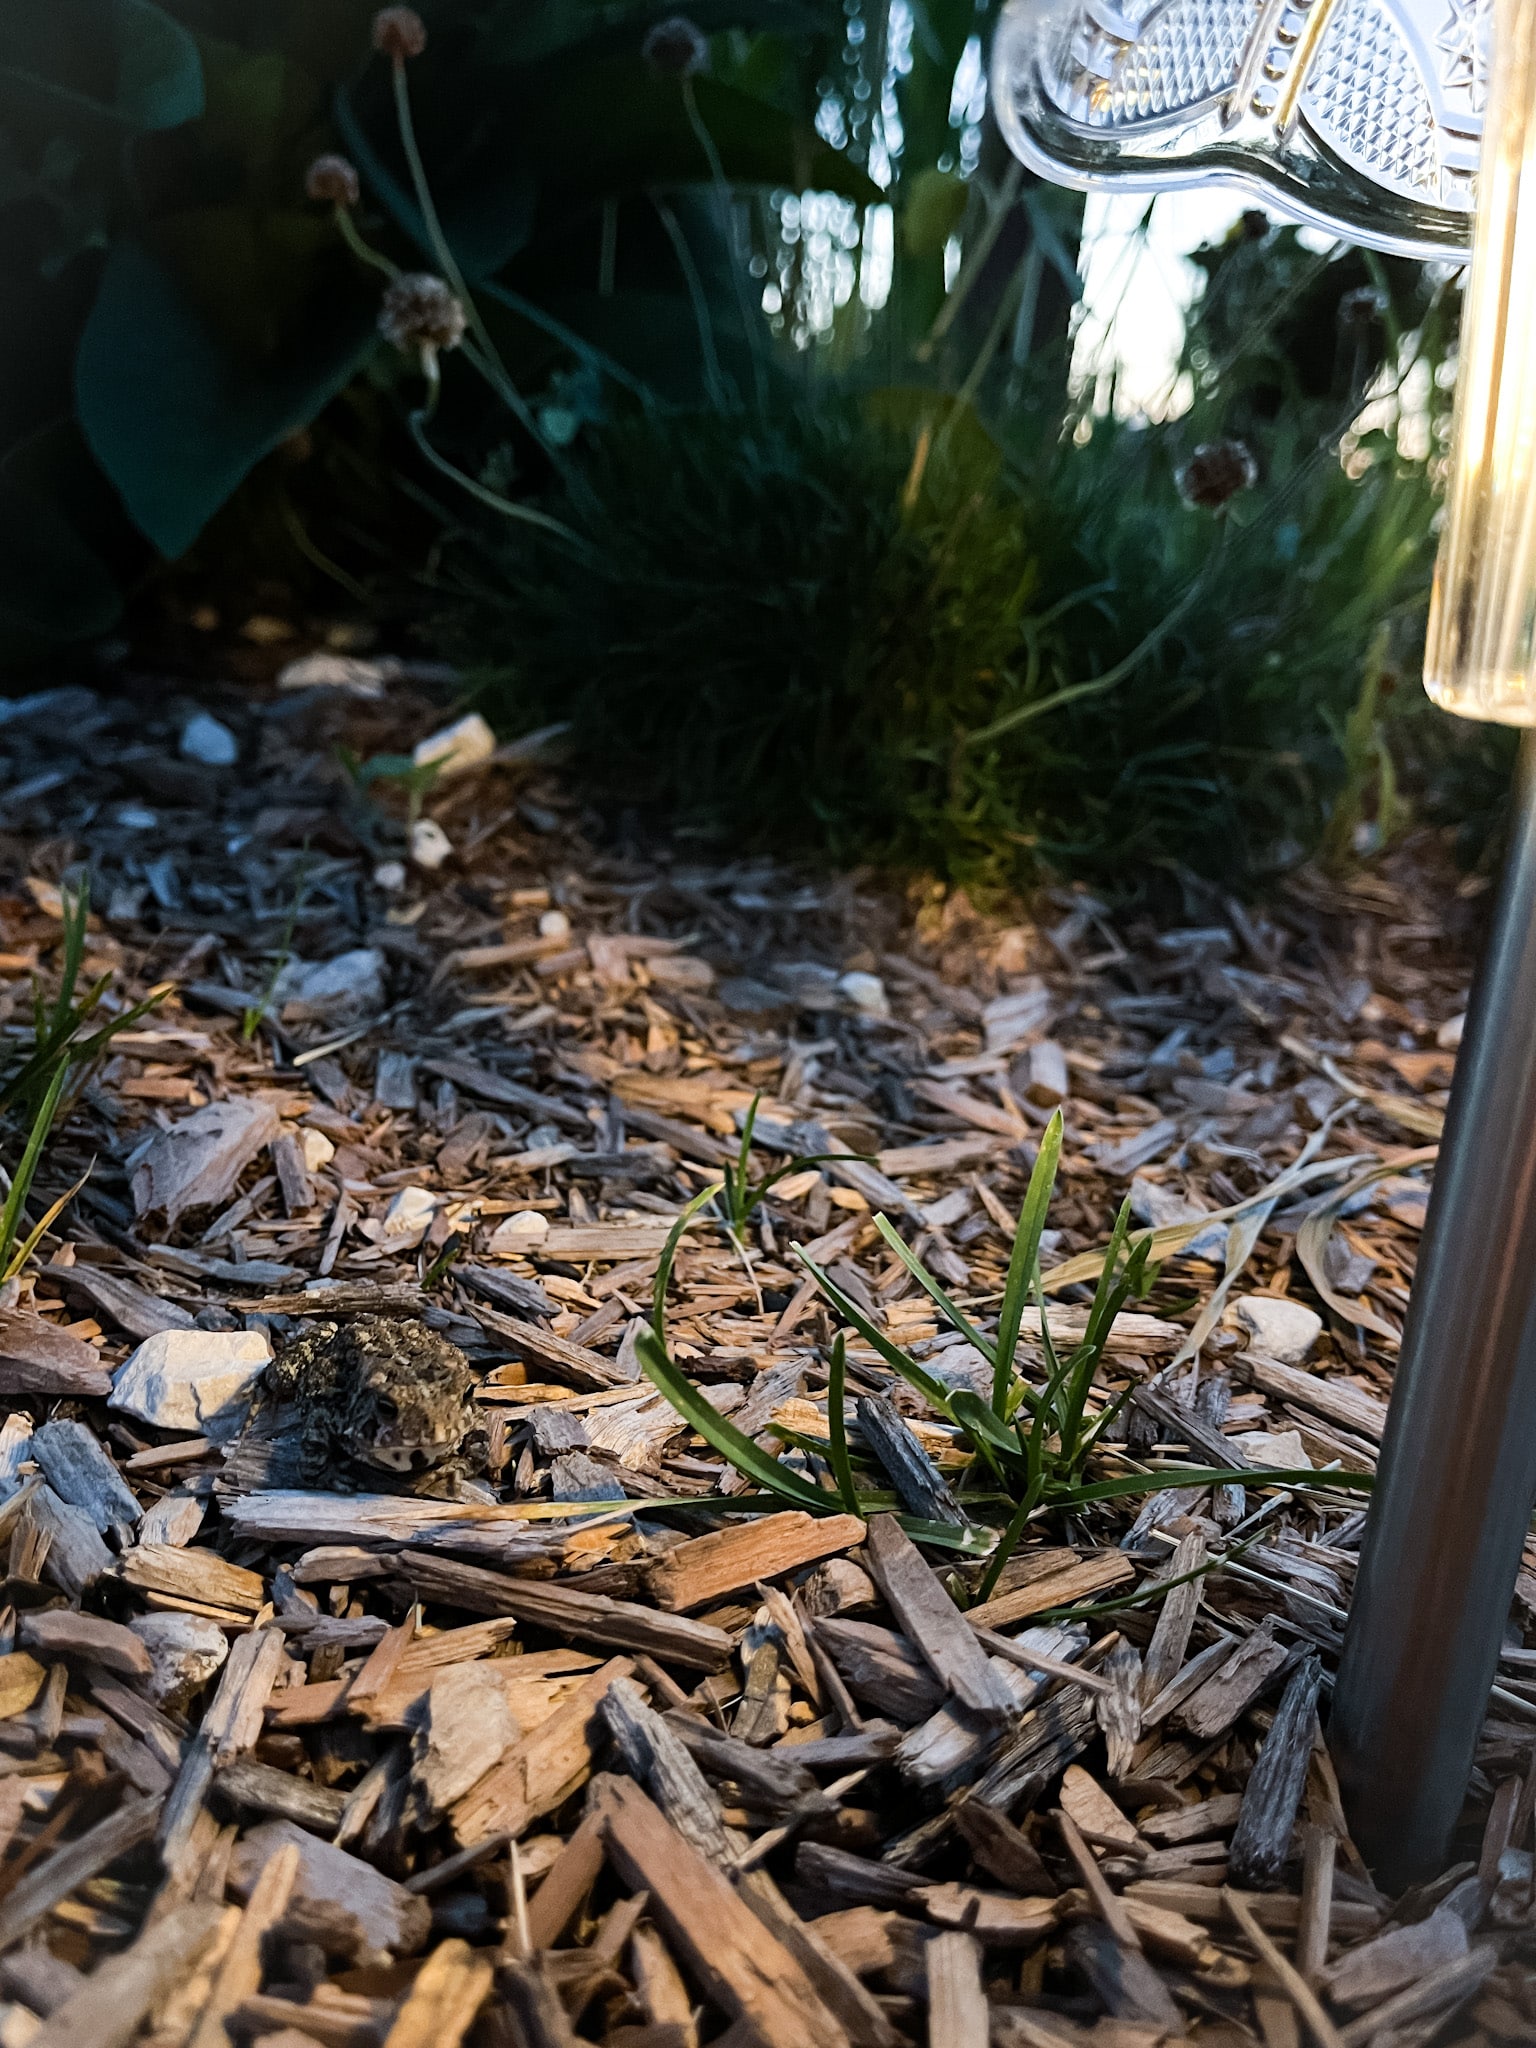
Now, you could just add plain clear bowls, but the point of the CUT GLASS STYLE is that, as the light shines through, it will cast the pretty design of the bowl onto the ground around the solar light.
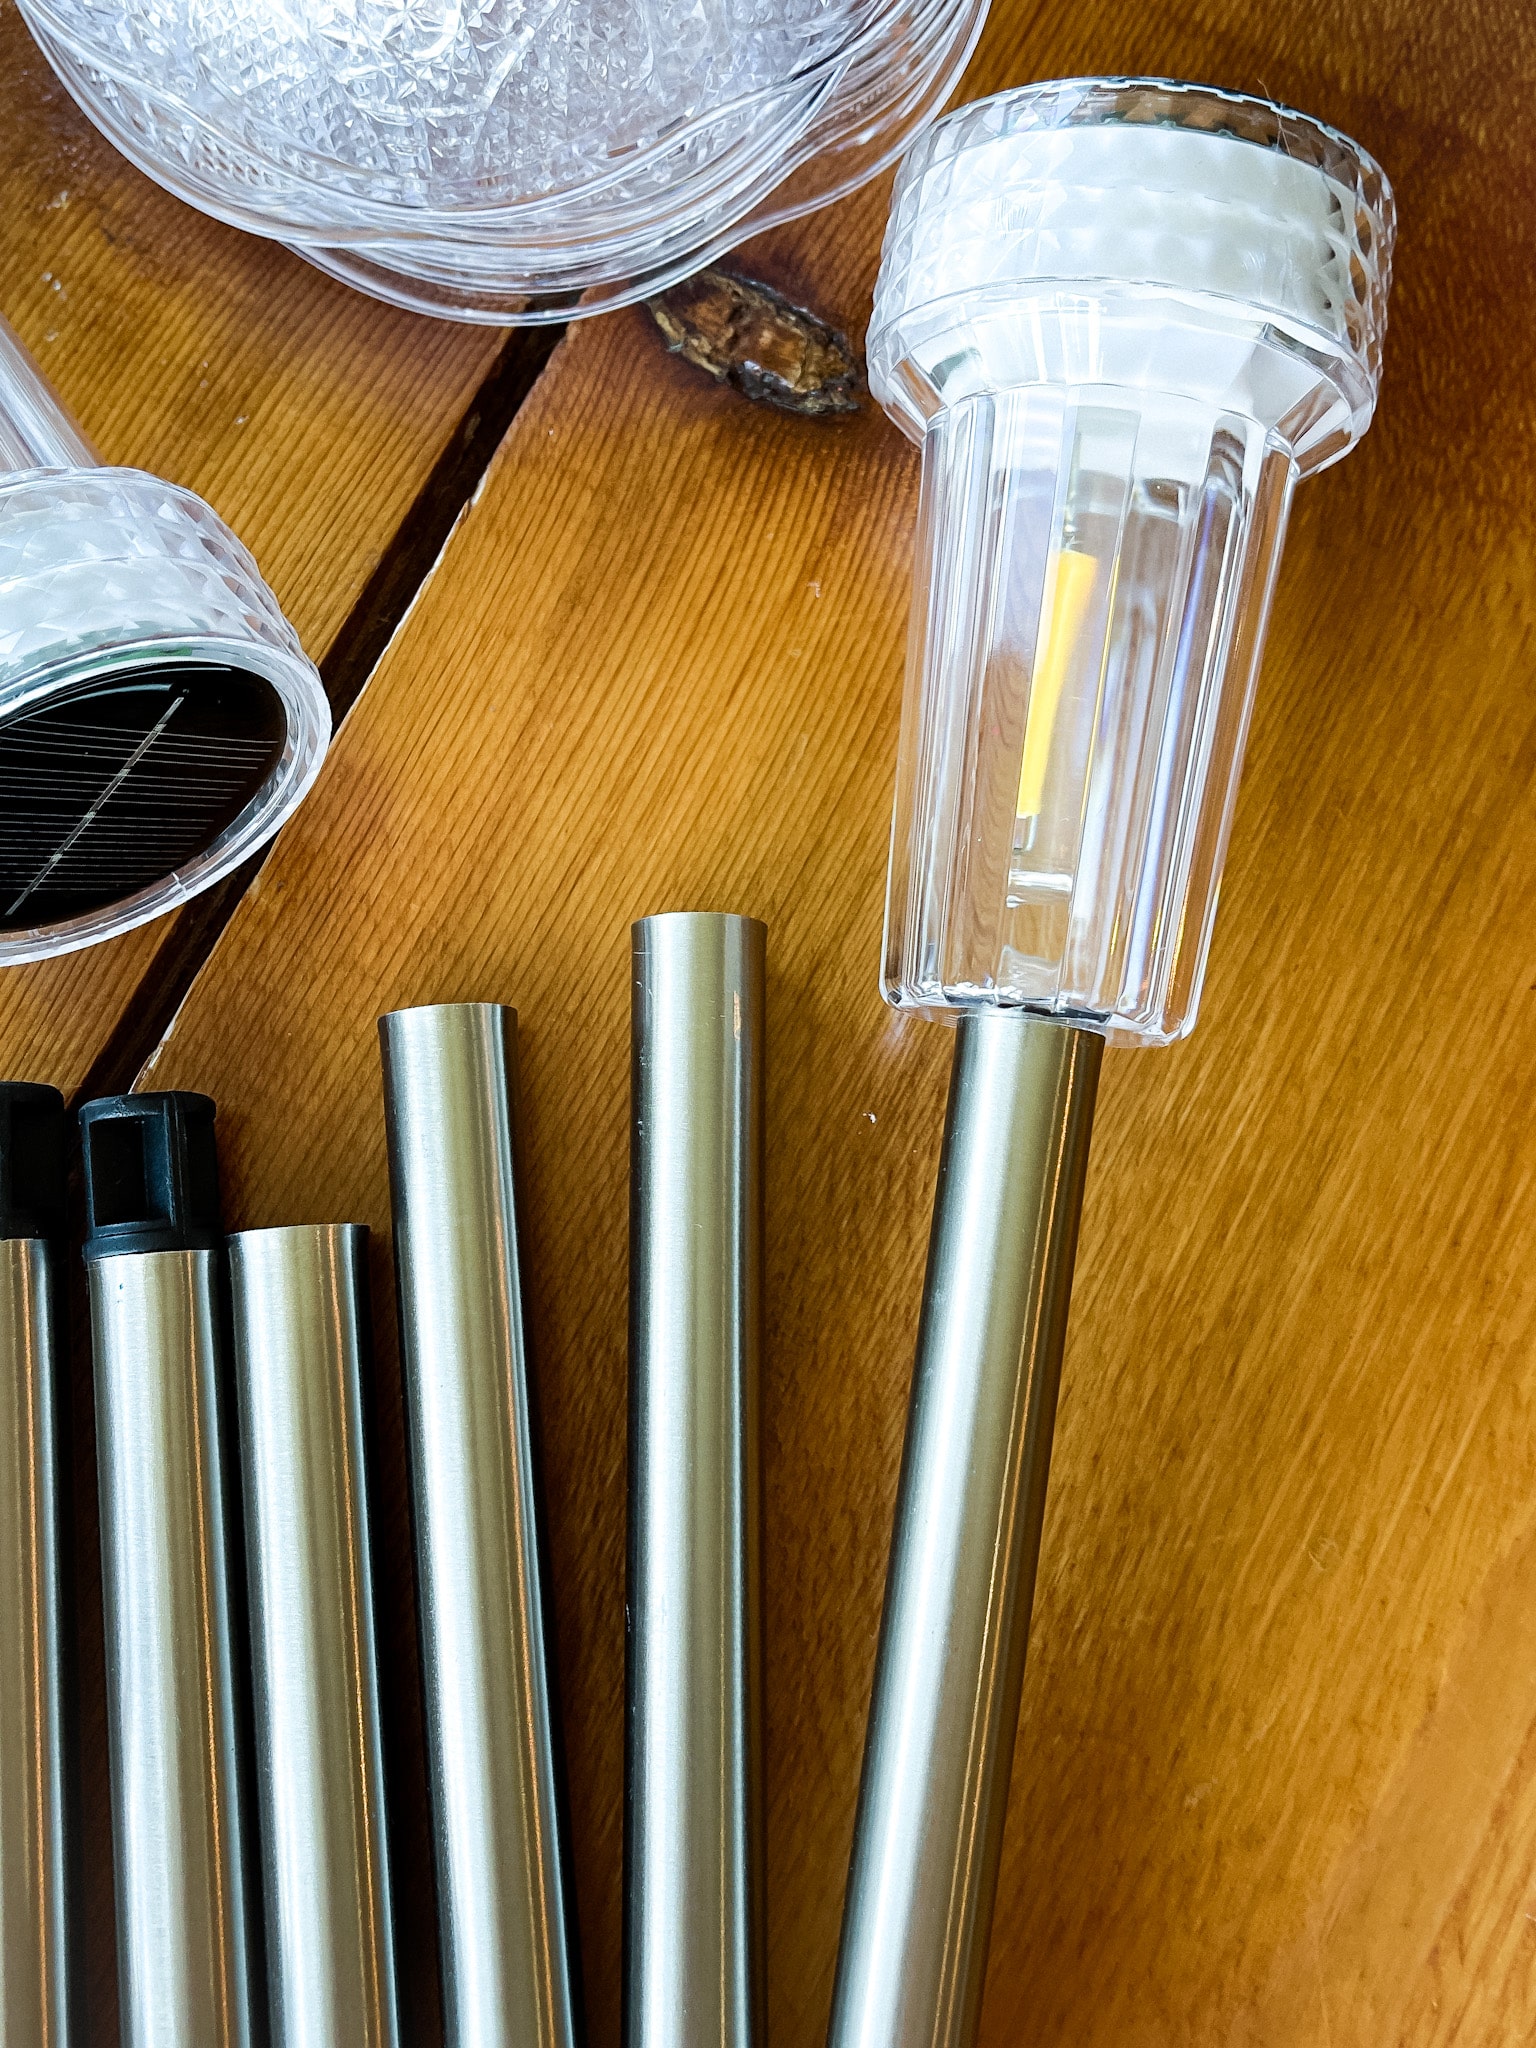
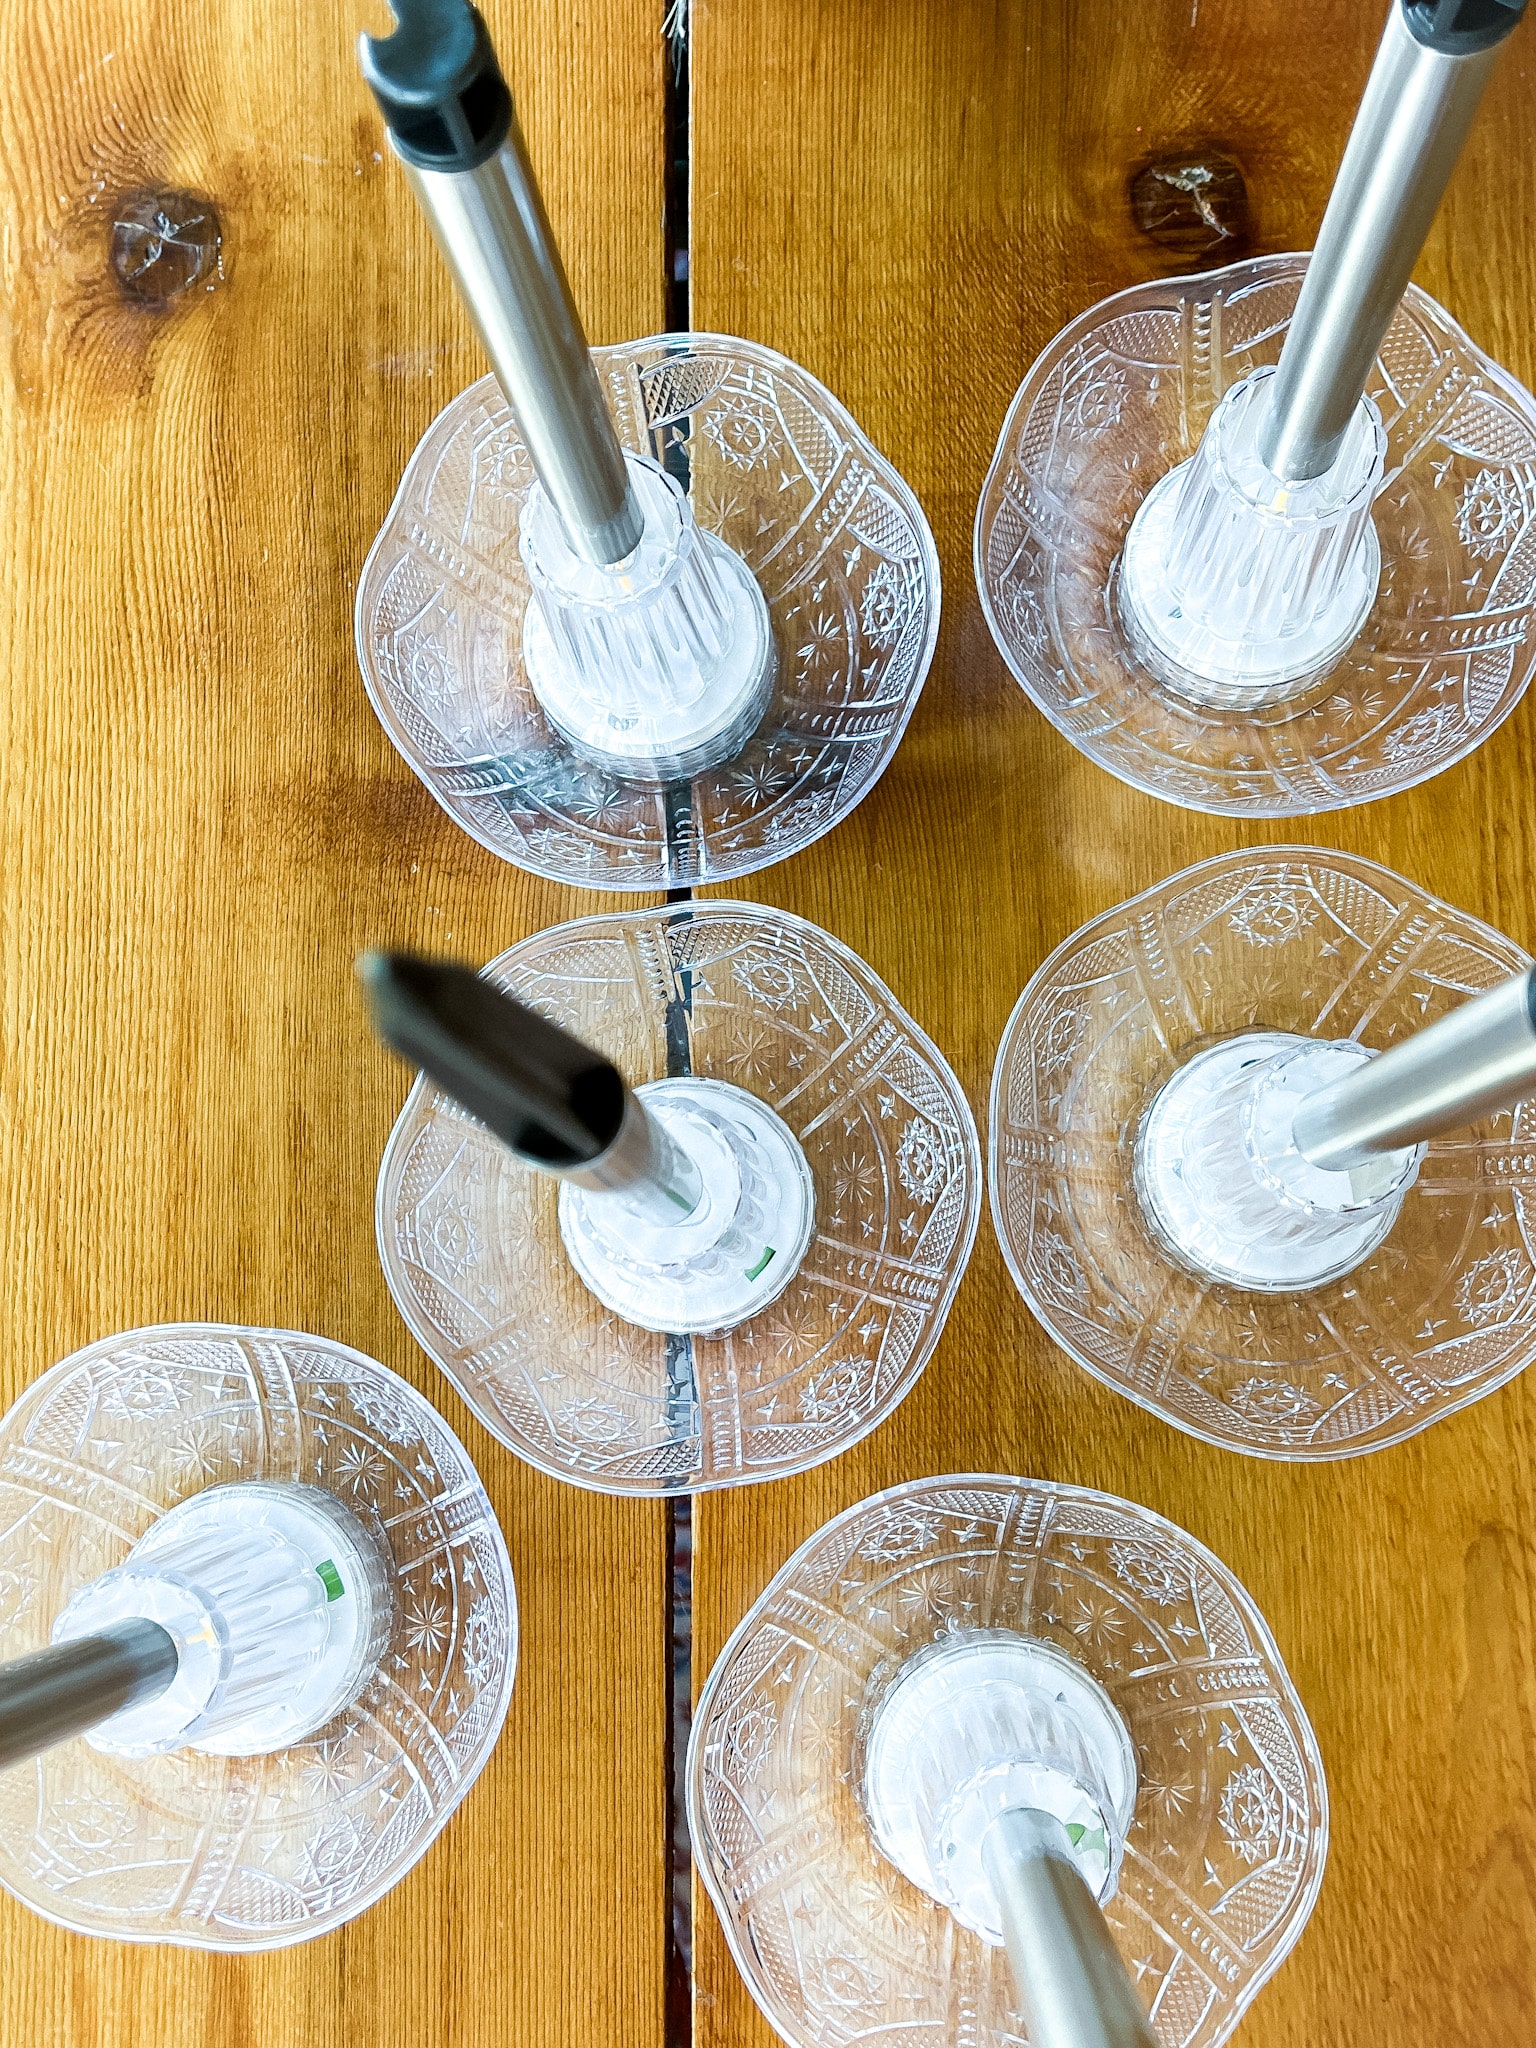
I'm not even going to number the steps for this project because it's so silly easy. All you. need to do is apply a thin bead of E6000 to the outer edge of the top of the light and to the inside inner circle of the BOWL. Let the glue cure for 2 minutes before joining the pieces together. Let the LIGHTS dry upside down on your table for at least 12 hours for the glue to set...24 hours if you want to be extra careful. After that, you can use them to line your landscaping beds, garden, pathways...or just pepper them throughout your yard.
I'm so pleased with how this little DIY solar light project turned out. I am definitely going to order a few more lights and BOWLS, so I can go to town making our yard a glowing night-time oasis!
If you're looking for a couple more outdoor projects to work on as the summer season wanes (then you'll be ready for next year!), I think you'll love my FILE CABINET PLANTER BOXES and PATIO POT UMBRELLA STANDS.
I've been sitting on this project for a while and am so happy I finally did it! f you decide to upgrade some SOLAR LIGHTS for yourself, I hope you'll share it on Instagram and tag me @hilaryprall so I can see!
Products* to buy

.jpg)